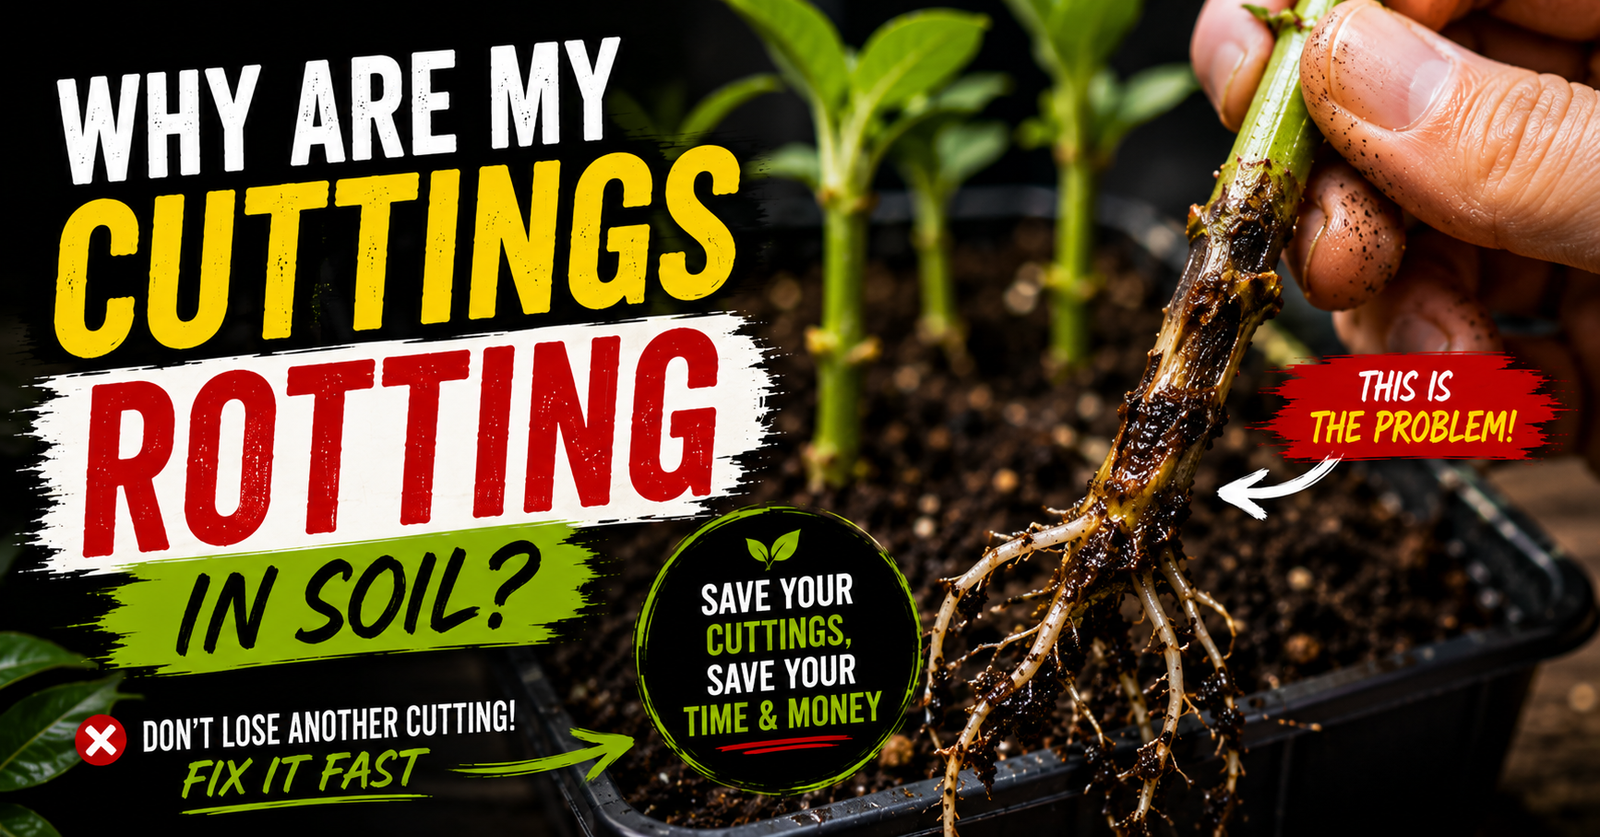
Few things are more frustrating than checking on a tray of cuttings only to discover the stems have turned soft, dark, and mushy instead of producing healthy white roots.
Most gardeners assume they simply got unlucky.
In reality, stem rot is usually the result of one or more growing conditions working against the cutting.
The encouraging part is that many of those problems are completely preventable.
Over the years, I’ve lost my share of cuttings to rot.
Every failure taught me something.
Instead of blaming one single cause, I learned to evaluate the entire propagation setup.
The growing medium.
Moisture levels.
Temperature.
Airflow.
The health of the cutting itself.
Successful propagation almost always comes from getting several small details right rather than finding one magic trick.
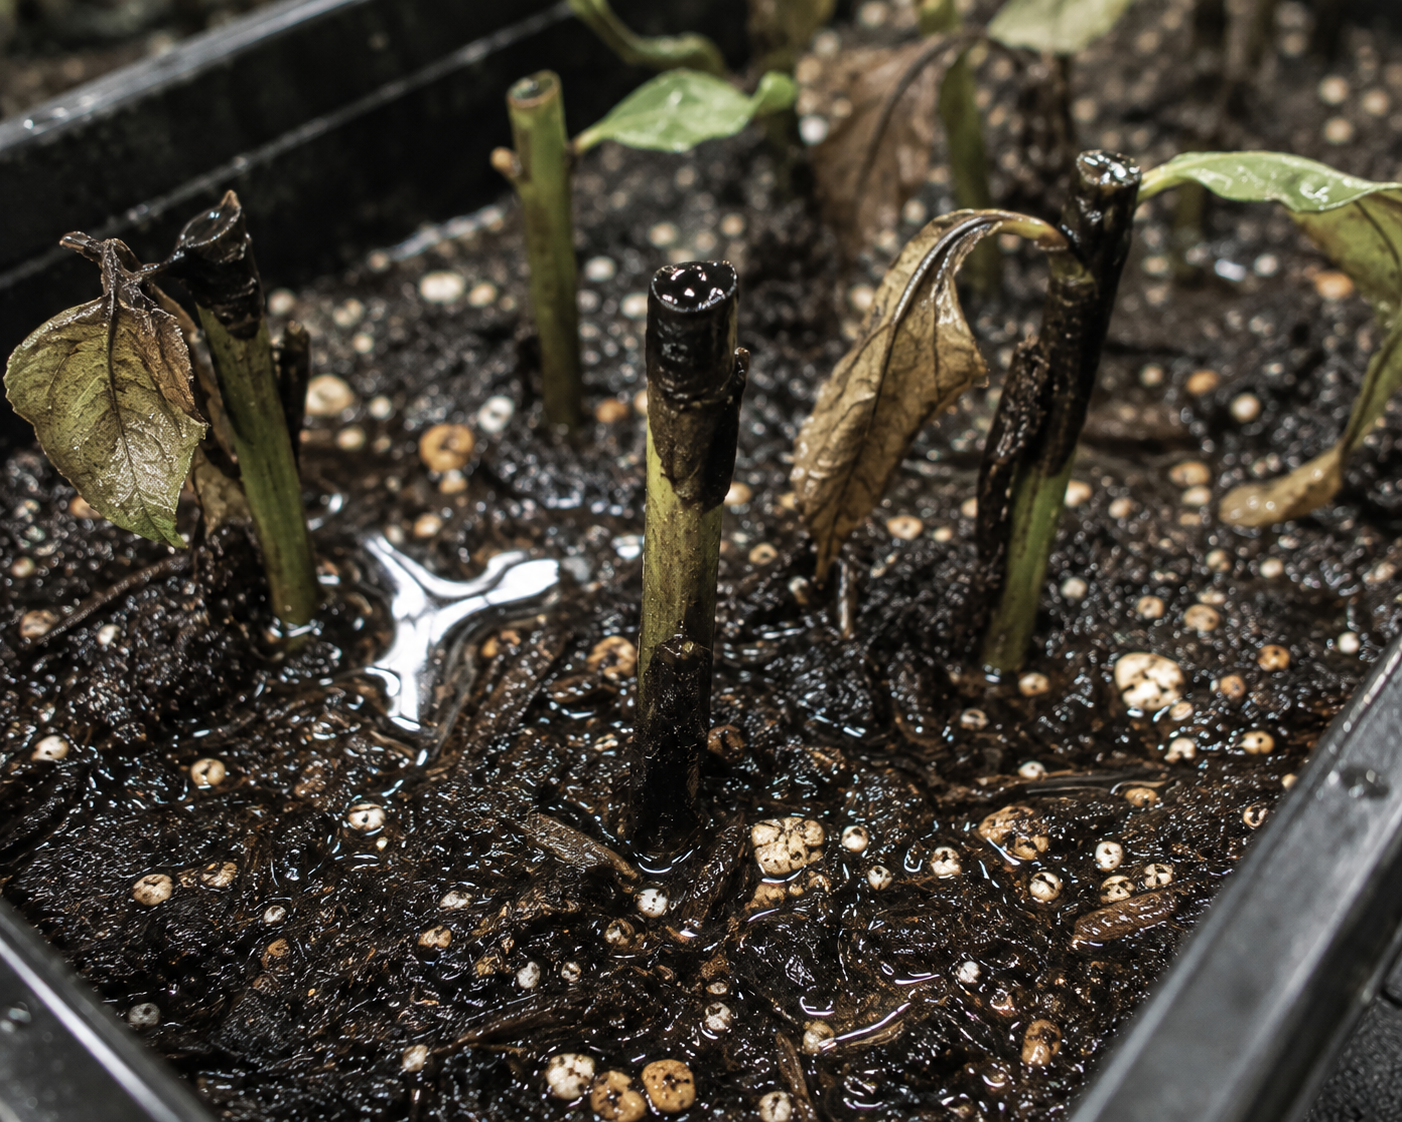
Too Much Water Is the Most Common Cause
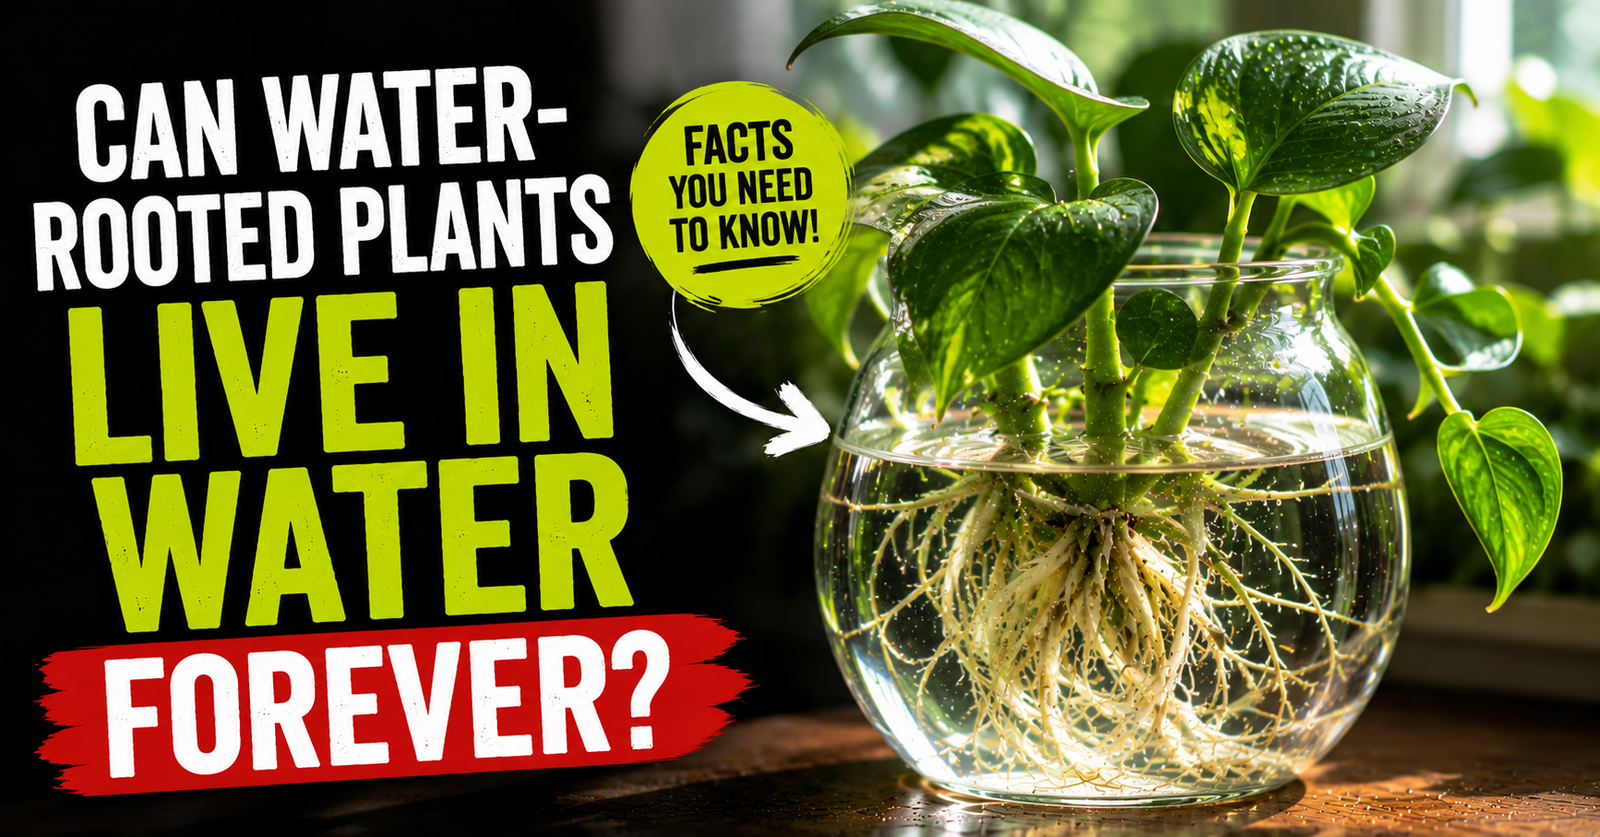
Fresh cuttings need moisture, but they also need oxygen.
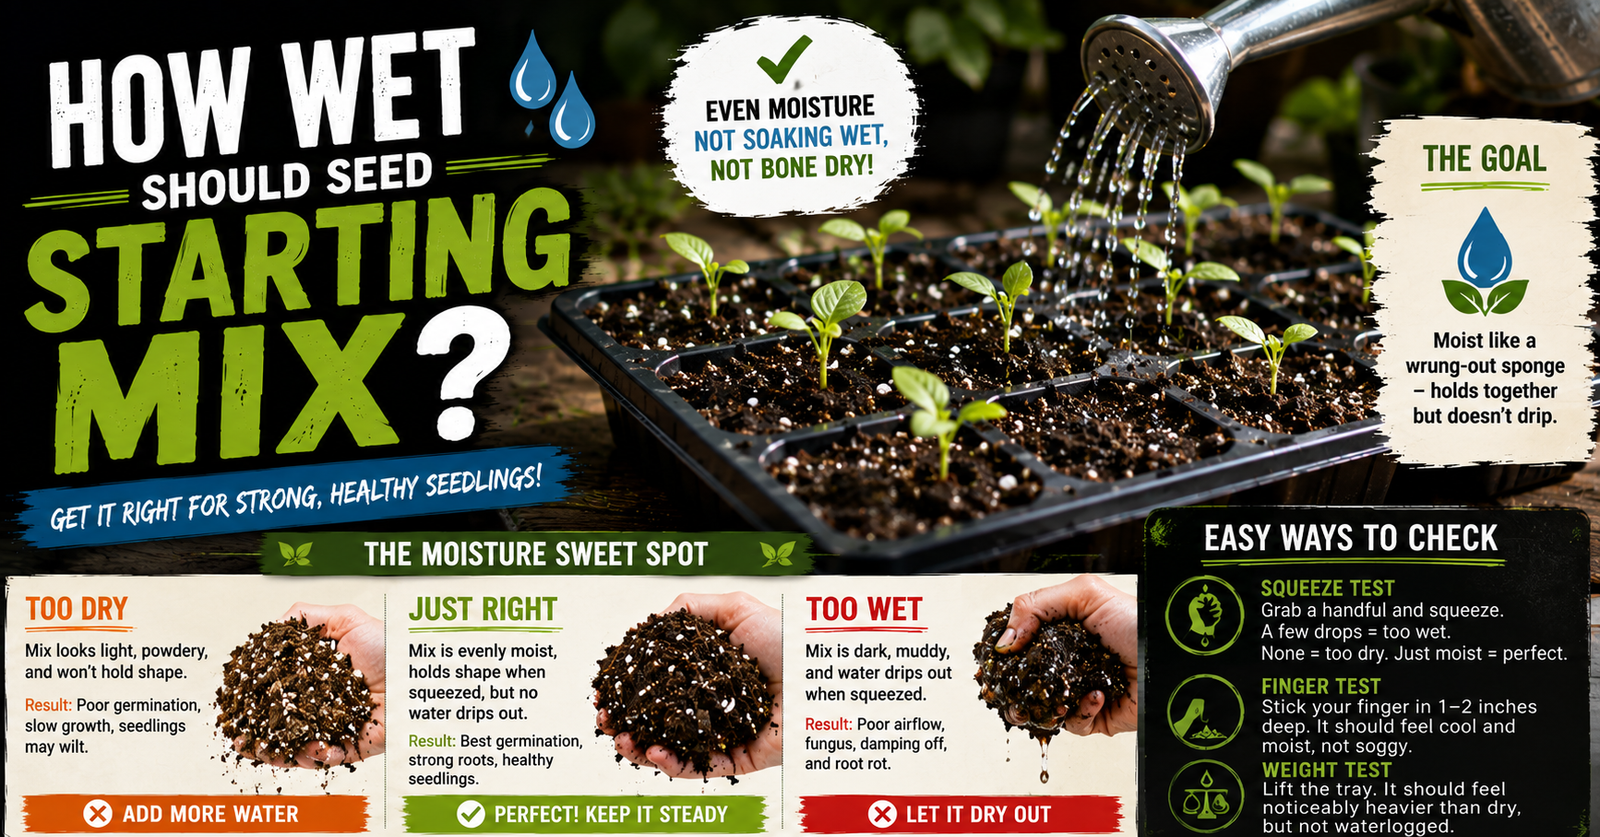
When the propagation mix stays saturated day after day, the stem sits in conditions that make it difficult for healthy roots to develop. Understanding maintaining the right mix moisture can help prevent consistently saturated conditions around the stem.
Instead of producing roots, damaged tissue begins breaking down.
That’s when rot often starts.
One thing that’s helped me tremendously is using a propagation mix that stays evenly moist without becoming heavy and compacted.
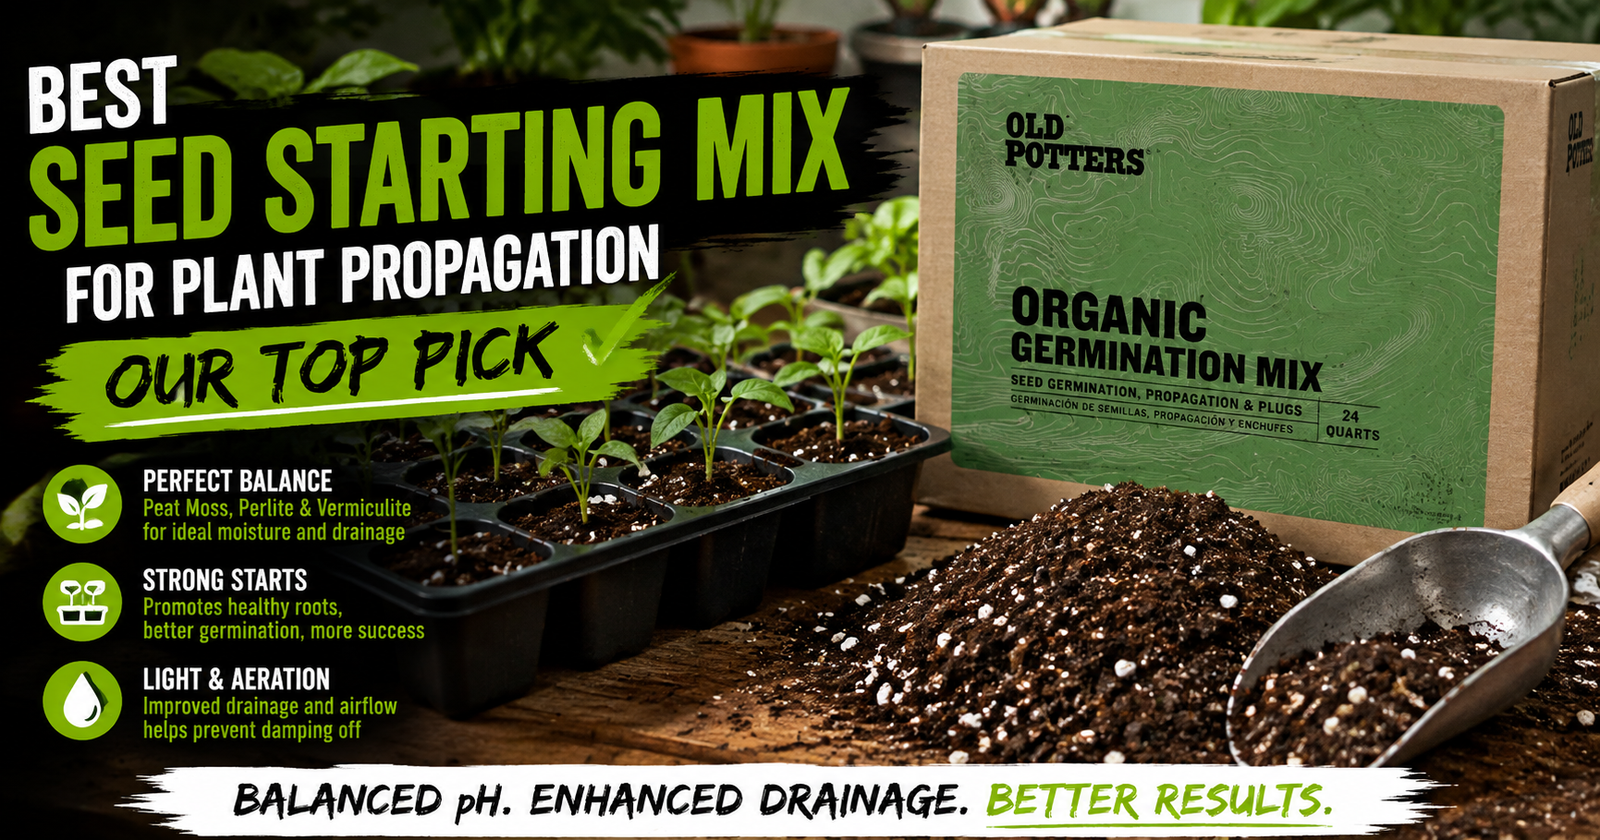
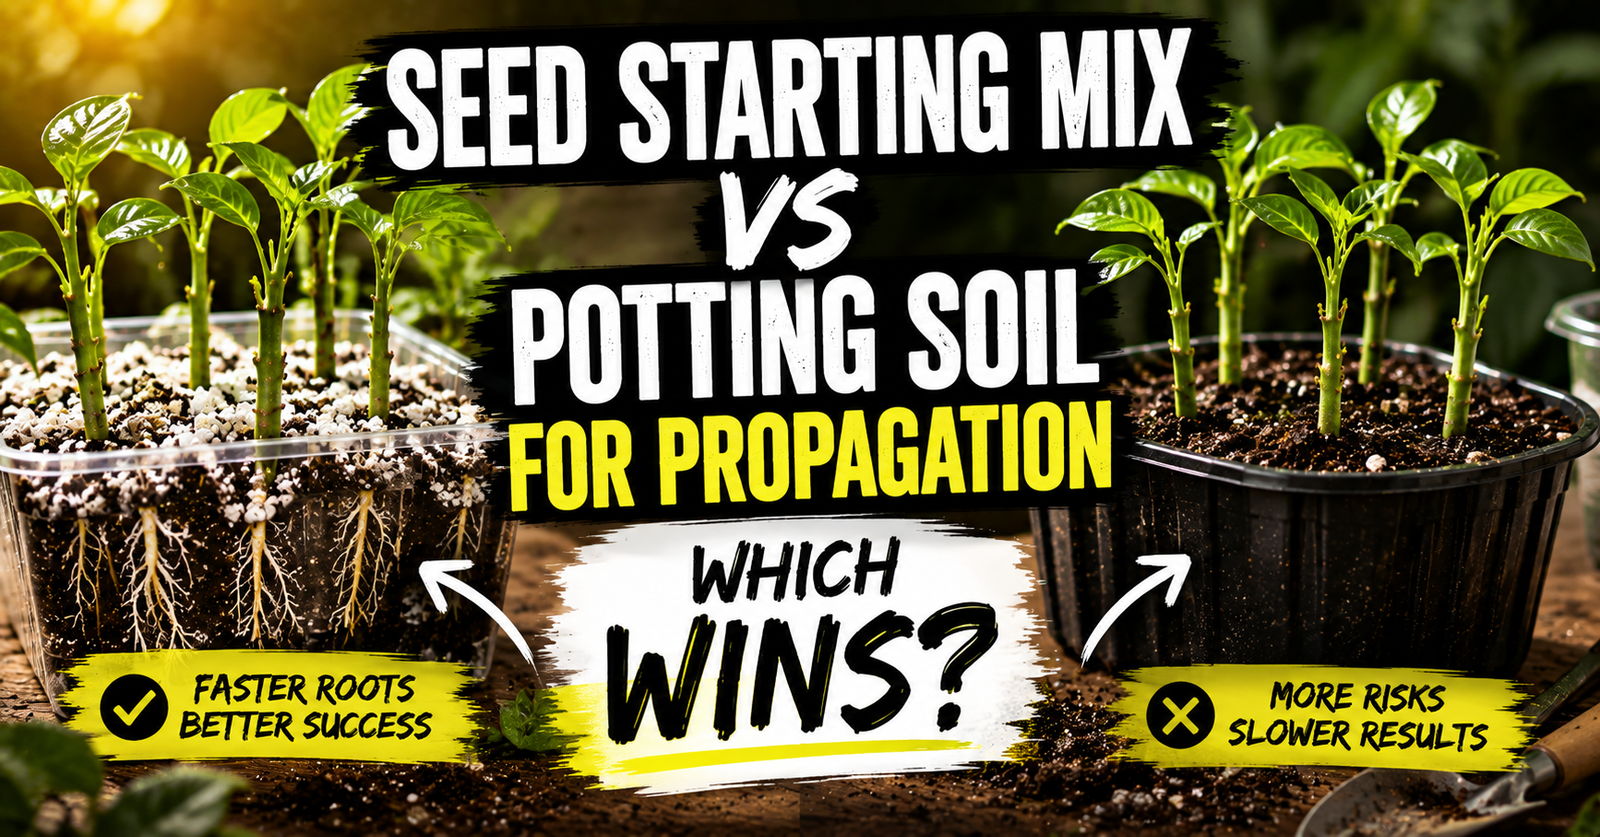
That’s why I continue recommending the seed starting mix I use for rooting cuttings.
Its light texture makes maintaining proper moisture much easier than many dense potting soils.
Sometimes the Soil Isn’t the Problem
I’ve seen perfectly good propagation mix blamed for problems that actually started before the cutting ever touched the soil.
A weak stem.
A damaged cutting.
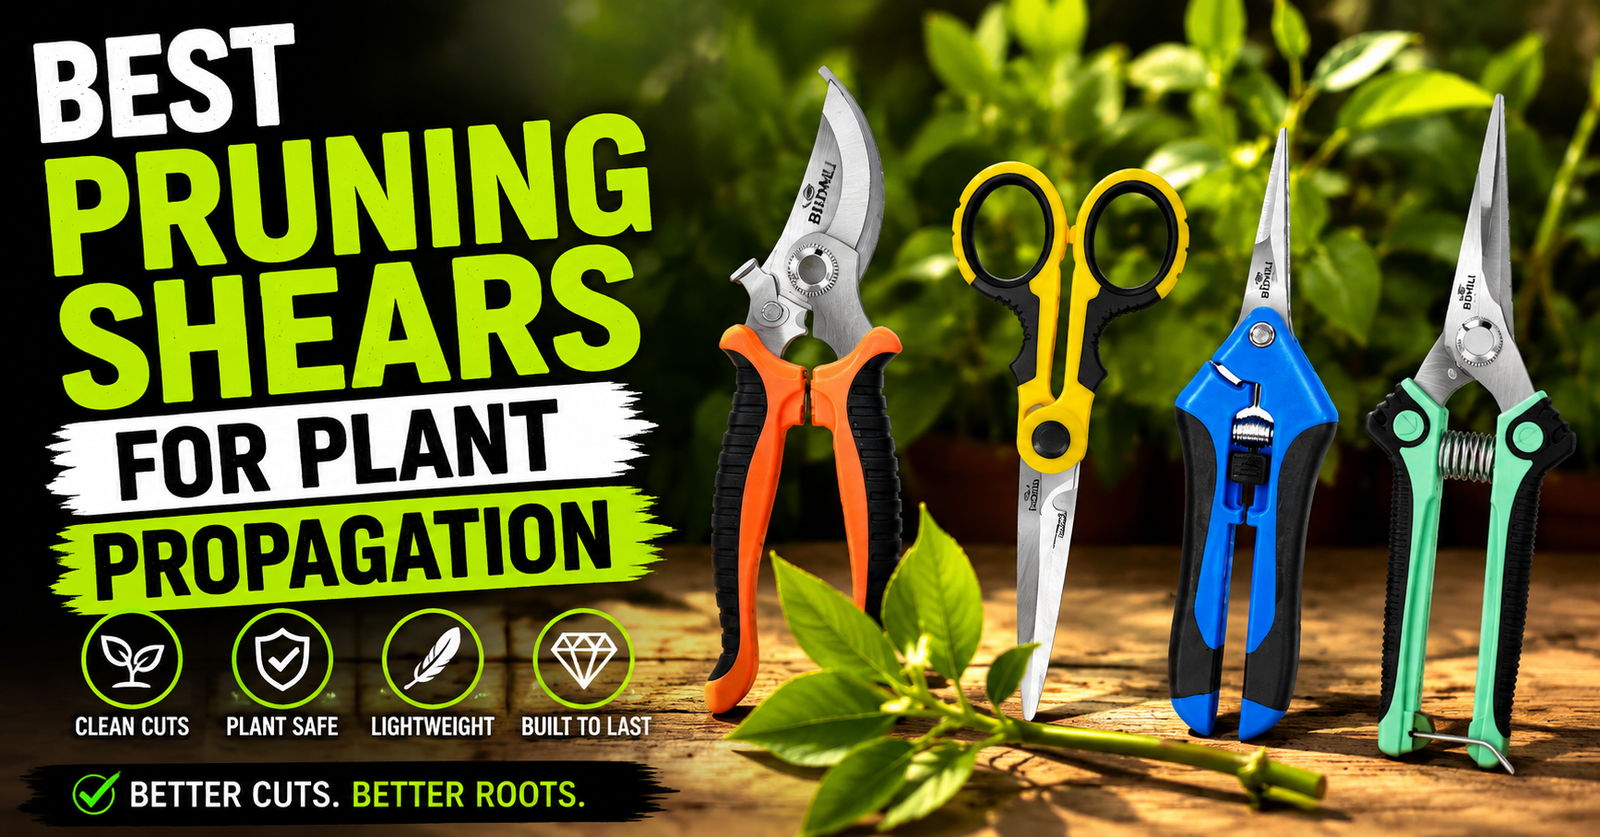
Dirty pruning shears.
A diseased parent plant.
Any of those can dramatically reduce the chances of successful rooting.
That’s one reason I spend as much time selecting healthy propagation material as I do preparing the tray itself.
Starting with vigorous cuttings gives every other part of the process a better chance of succeeding.
Poor Drainage Creates the Perfect Conditions for Rot
Even if you’re careful not to overwater, poor drainage can leave the lower portion of the propagation tray constantly wet.
That’s where problems begin.
Water fills the tiny air spaces that healthy roots depend on. The same balance between moisture and oxygen is discussed in this guide to how often to water tomato plants.
Without enough oxygen, the stem becomes stressed, and fungi that naturally exist in the growing medium have an easier time taking over.
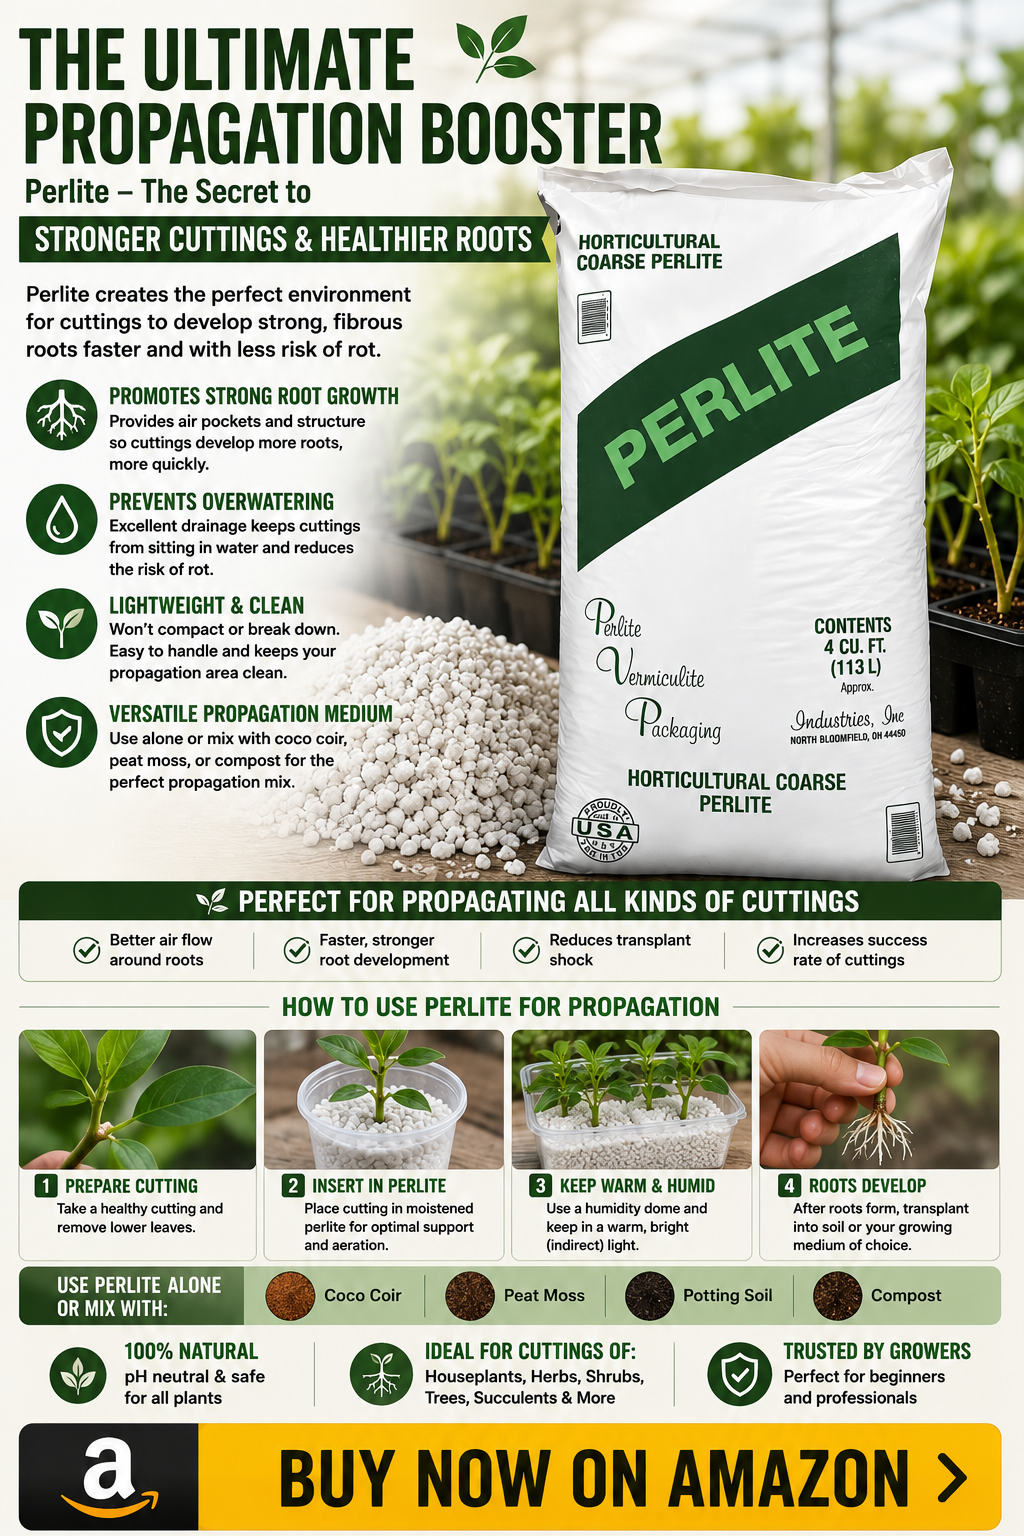
One thing that’s helped me avoid this is adding extra drainage whenever I think the propagation mix may stay wet for too long. For extra drainage in a propagation mix, horticultural perlite may be worth considering.
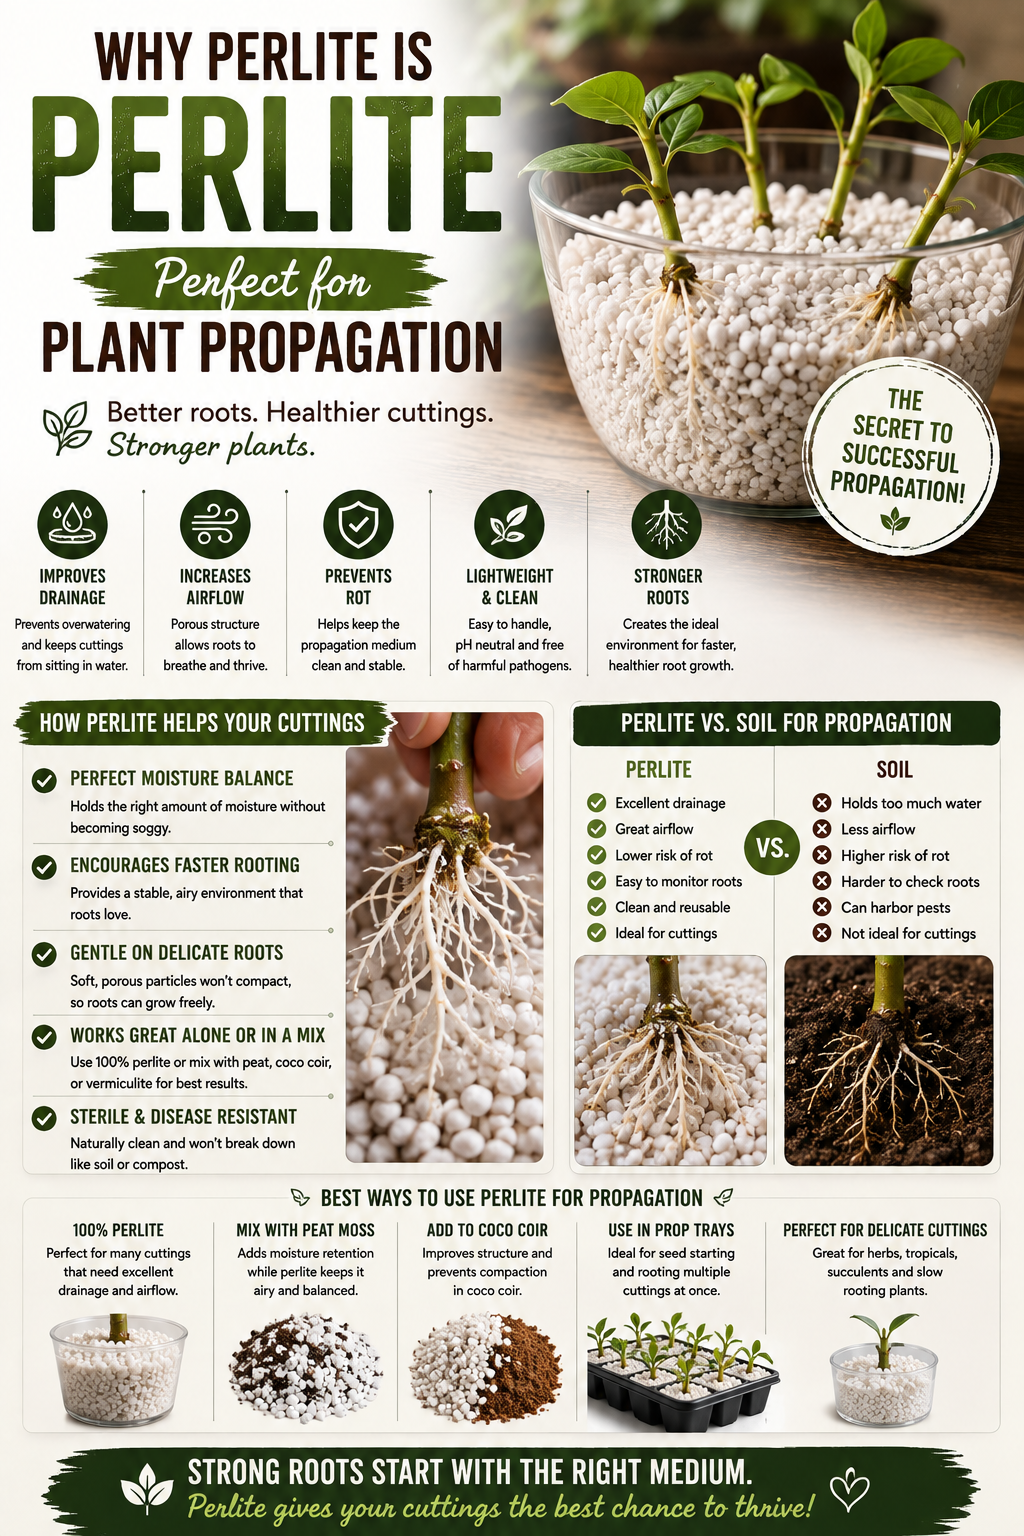
If I want even more airflow around developing roots, I’ll often mix in the propagation perlite I recommend.
That simple addition helps the mix stay lighter and reduces the chances of the stem sitting in overly wet conditions.
Temperature Can Make Rot Worse
Cool temperatures don’t directly cause stem rot, but they can slow root development.
When roots develop slowly, the cutting spends more time sitting in moist growing media without actively taking up water.
That longer waiting period gives rot more opportunity to develop.
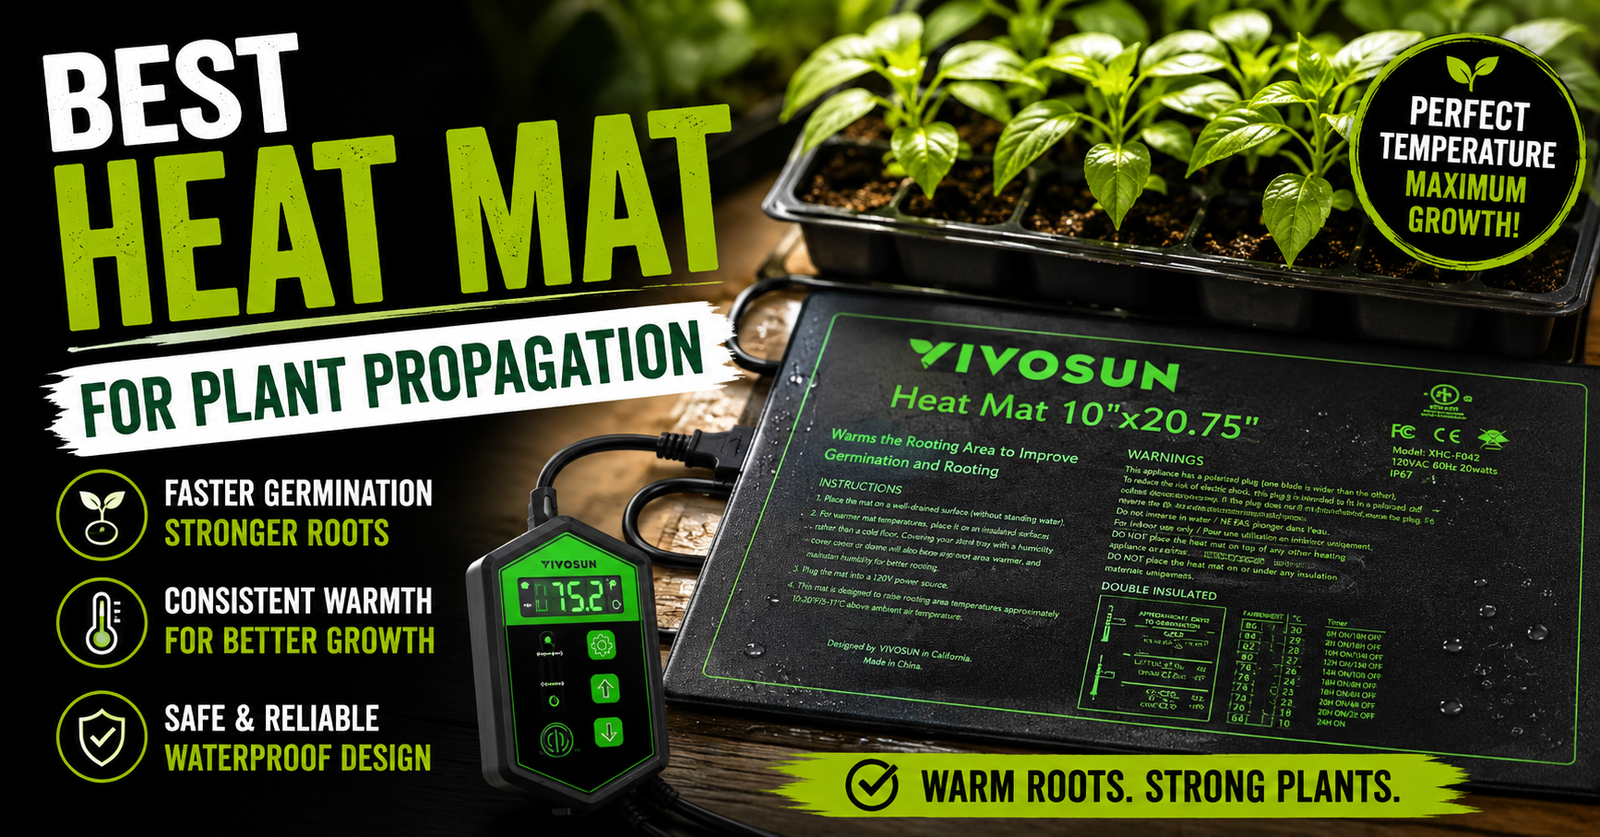
During cooler months, I like creating stable root-zone temperatures rather than simply hoping the room stays warm enough.
Healthy roots usually develop much more consistently when conditions remain steady.
Too Much Humidity Can Also Contribute
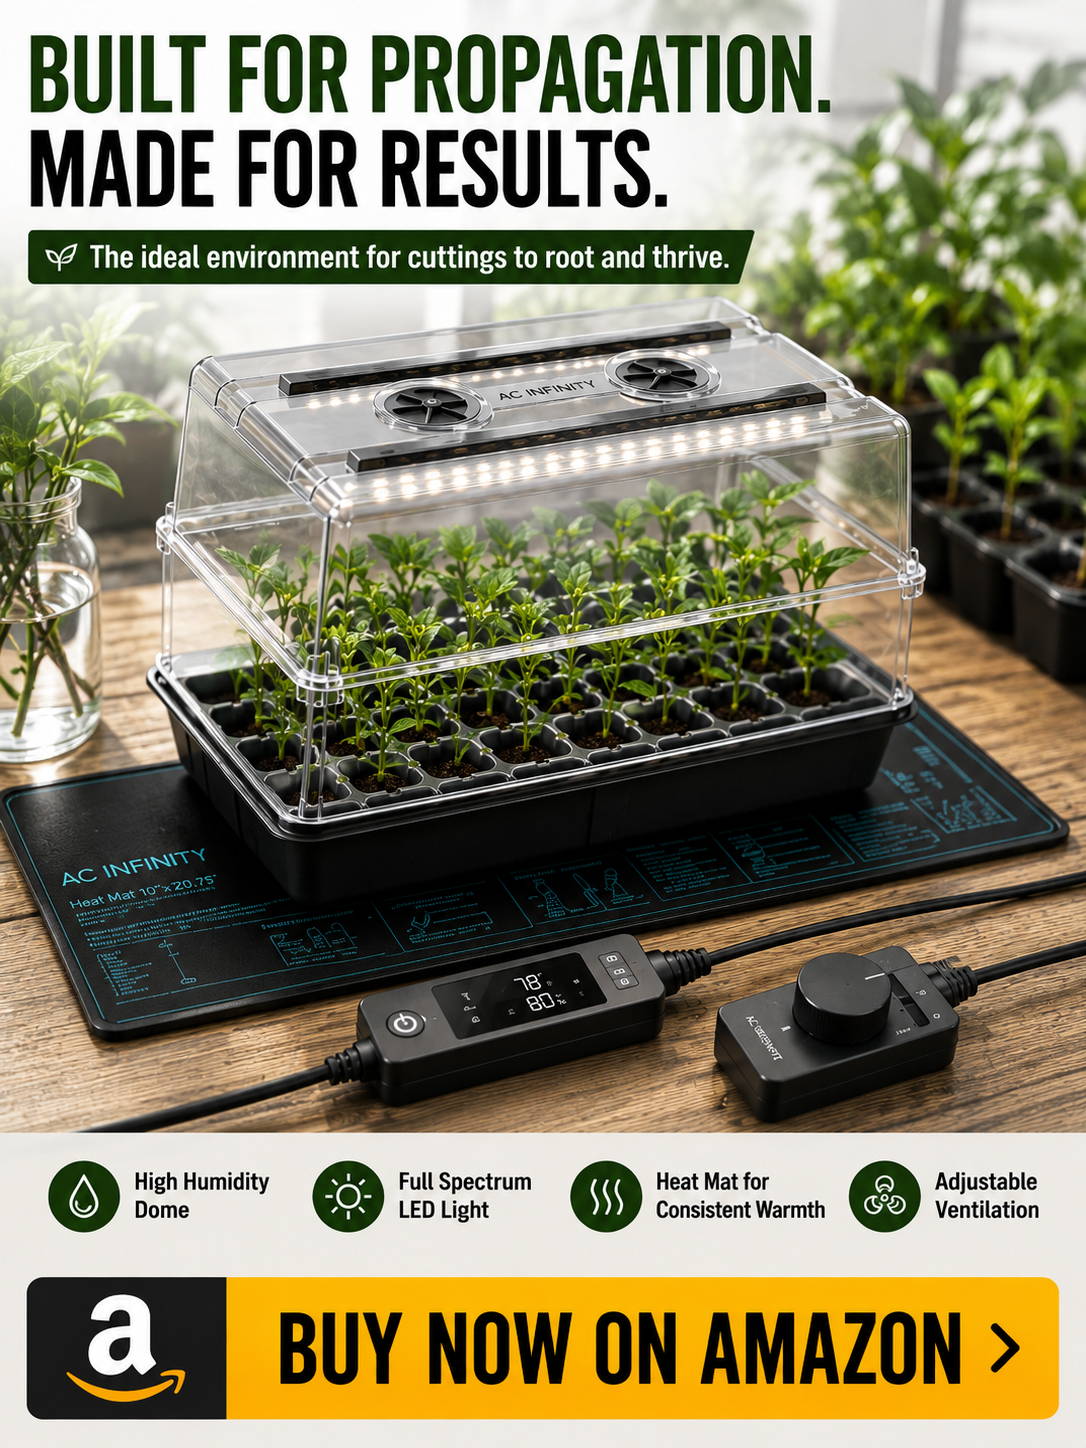
Humidity domes are wonderful propagation tools, but they aren’t meant to stay completely sealed forever. For readers using this approach, an adjustable humidity dome can provide a more controlled way to manage humidity around cuttings.
If there’s almost no fresh air moving through the dome, excess moisture can linger around the stems and leaves.
That creates conditions where fungal problems become much more likely.
I usually crack the vents open a little once the cuttings settle in and gradually increase airflow as rooting progresses.
Good humidity should protect the cutting, not trap it inside stale air.
Don’t Keep Digging Up the Cuttings
This is one mistake almost every propagator makes at least once.
You’re curious.
You gently pull on the stem to see whether roots are forming.
Then you do it again a few days later.
And again.
Every time the cutting is disturbed, tiny developing roots can be damaged before they have a chance to establish themselves.
I’ve learned that patience almost always produces better results than constant checking.
If the cutting still looks healthy above the soil, I usually let it continue doing its job beneath the surface.
Healthy Conditions Usually Prevent Rot Before It Starts
Over the years I’ve found that preventing stem rot is much easier than trying to save a cutting after it has already begun breaking down.
A light propagation mix.
Proper watering.
Healthy parent plants.
Clean tools.
Good airflow.
Reasonable humidity.
When those pieces come together, stem rot becomes surprisingly uncommon.
Most of the time, successful propagation isn’t about finding a miracle cure.
It’s about creating an environment where rot never has much of an opportunity to begin in the first place.
Frequently Asked Questions
Can a rotting cutting be saved?
Sometimes.
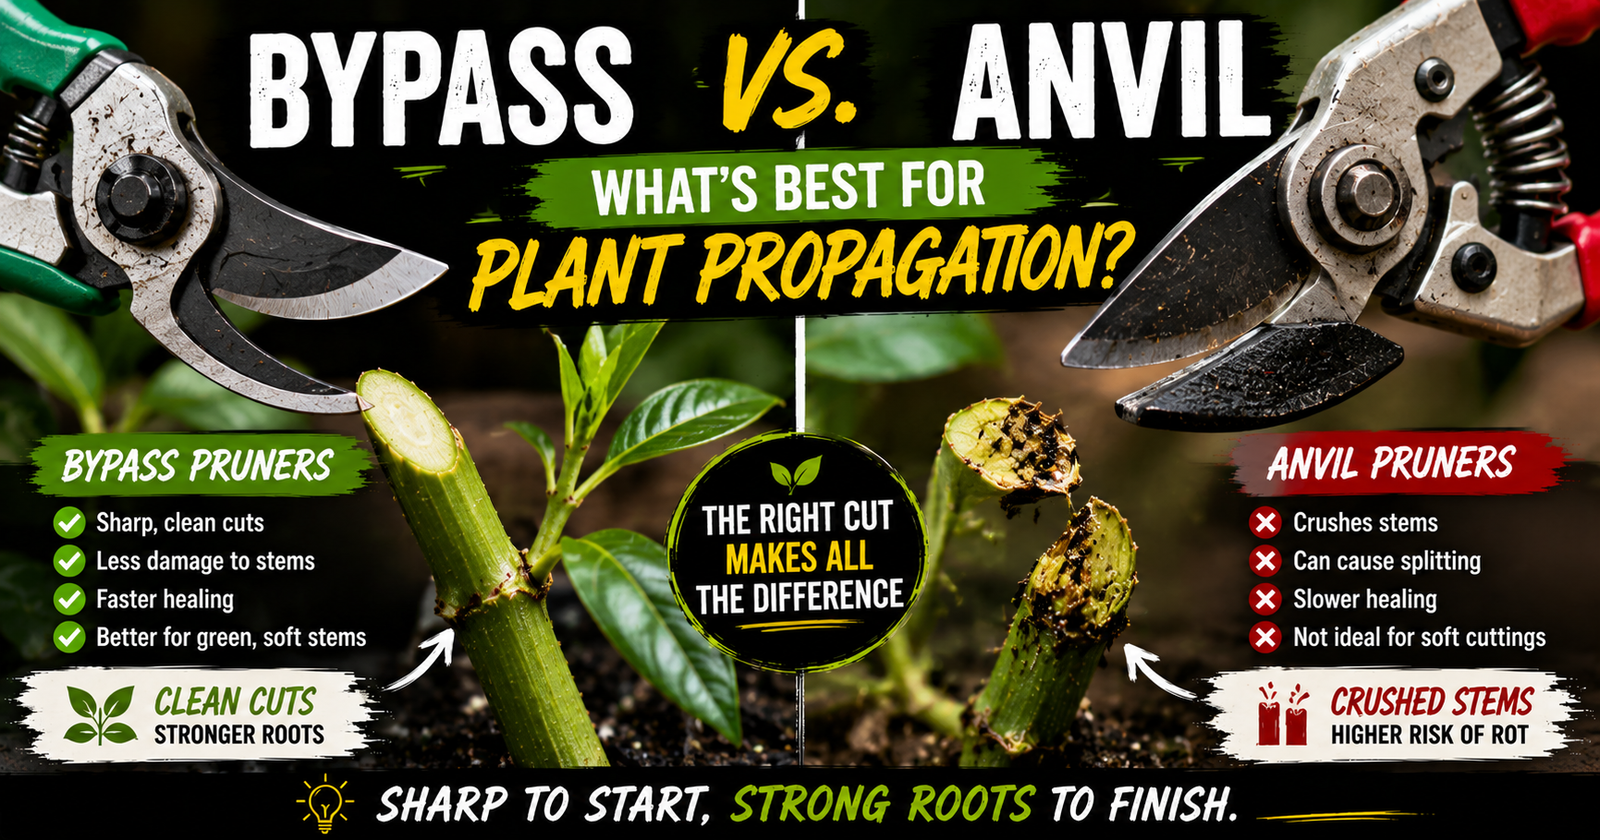
If the rot is only beginning and the upper portion of the cutting is still healthy, I’ll often cut away the damaged section with clean pruning shears and start over using fresh propagation media. When removing damaged tissue, the best pruners for clean cuts can help limit additional injury to the stem.
If the stem has become soft and mushy throughout most of its length, it’s usually better to discard it and begin with a new cutting.
Should I water less if my cuttings are rotting?
Usually, yes.
Constantly wet propagation media are one of the biggest contributors to stem rot.
Rather than watering on a schedule, I check the moisture first.
The mix should remain evenly moist, not saturated.
Allowing a little air back into the growing medium often helps create much healthier rooting conditions.
Can rooting hormone prevent stem rot?
Not directly.

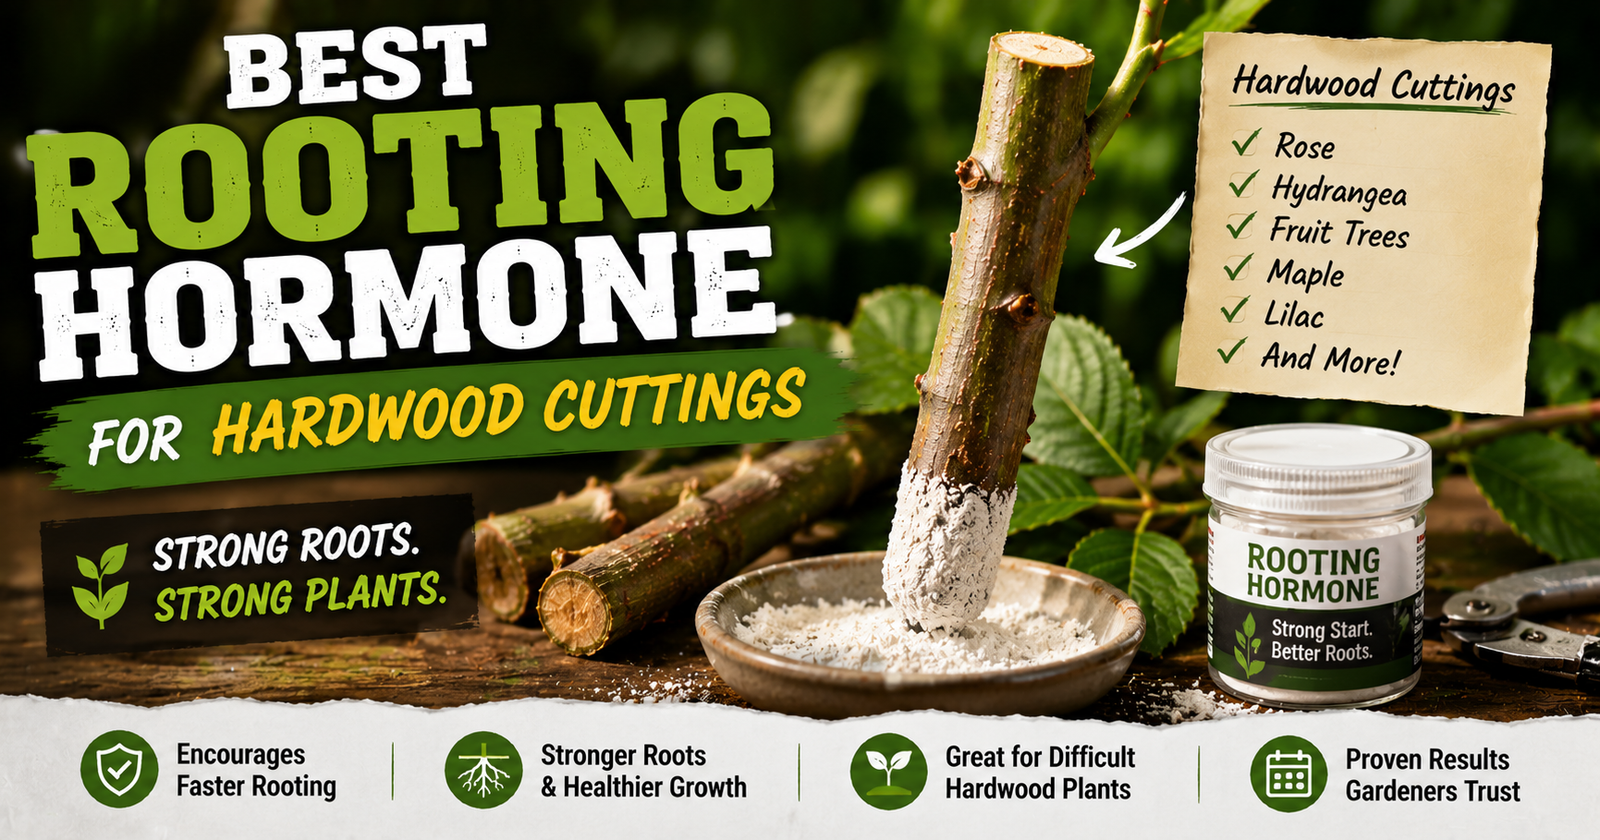
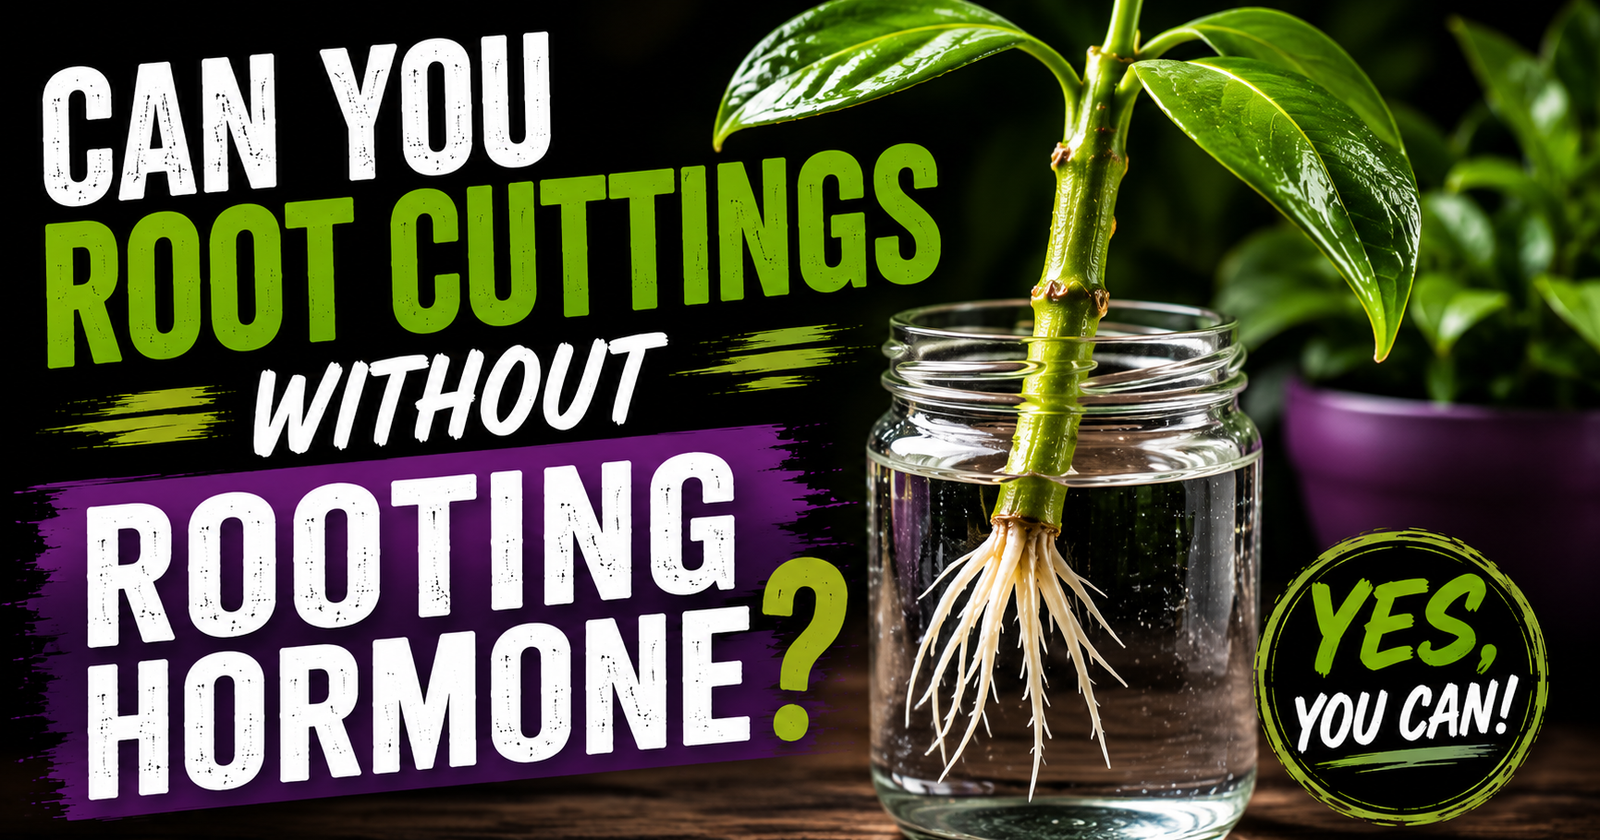
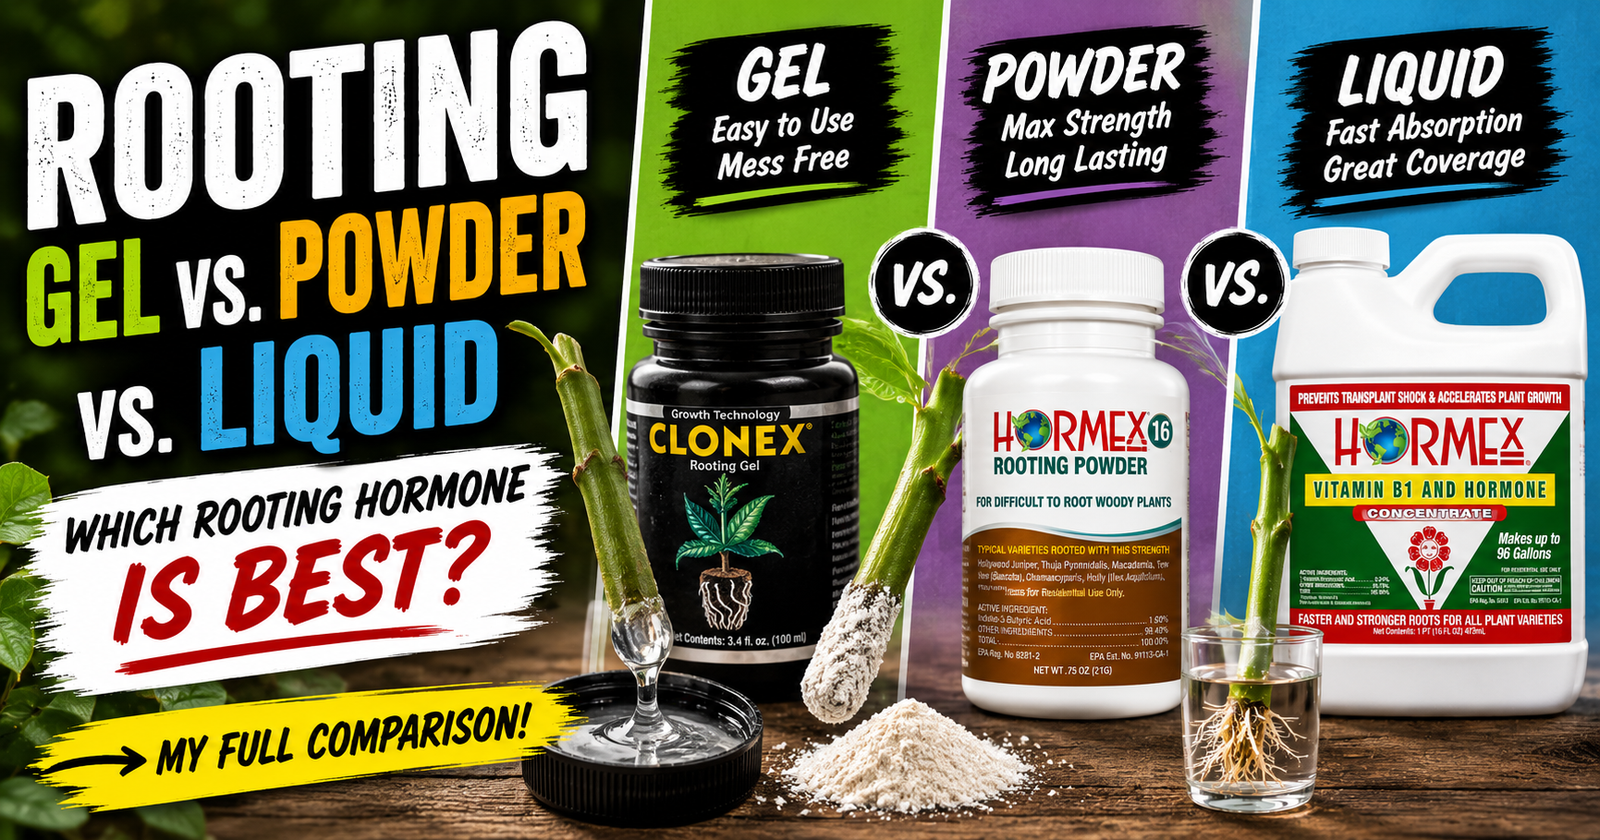
Rooting hormone encourages root development, but it isn’t a fungicide. Gardeners who want to use a gel formulation can compare Clonex rooting gel while keeping expectations about rot prevention realistic.
Healthy propagation still depends on clean tools, healthy cuttings, good airflow, and an appropriate growing medium.
The rooting hormone supports the process, but it can’t overcome poor growing conditions.
Should I throw away the propagation mix after stem rot?
I usually do.
Once rot has affected a tray, I don’t like taking chances with valuable new cuttings.
Starting with fresh propagation media is inexpensive compared to losing another round of plants.
If I suspect disease was involved, I clean the trays before beginning again as well.
How long should I wait before deciding a cutting has failed?
Longer than most people expect.
Some plants root surprisingly fast.
Others naturally take several weeks.
As long as the stem remains firm and healthy, I try not to rush the process.
Patience has saved many cuttings that I initially thought weren’t going to make it.
Prevention Is Much Easier Than Recovery
If there’s one lesson stem rot has taught me, it’s that preventing problems is far easier than fixing them afterward.
Once a cutting begins breaking down, recovery becomes uncertain.
Creating the right environment from the beginning gives every cutting a much better chance of success.
That’s why I spend more time focusing on healthy propagation practices than searching for cures.
Good drainage.
Proper moisture.
Healthy parent plants.
Clean equipment.
Fresh propagation media.
Those simple habits have done more to reduce stem rot than any product I’ve ever purchased.
About the Author
Daxon Weaver is the founder of PropagationWorld and has propagated thousands of houseplants, herbs, berry bushes, fruit trees, and ornamental shrubs. Years of hands-on propagation have shown him that preventing stem rot usually comes down to building healthy growing conditions long before problems ever appear.