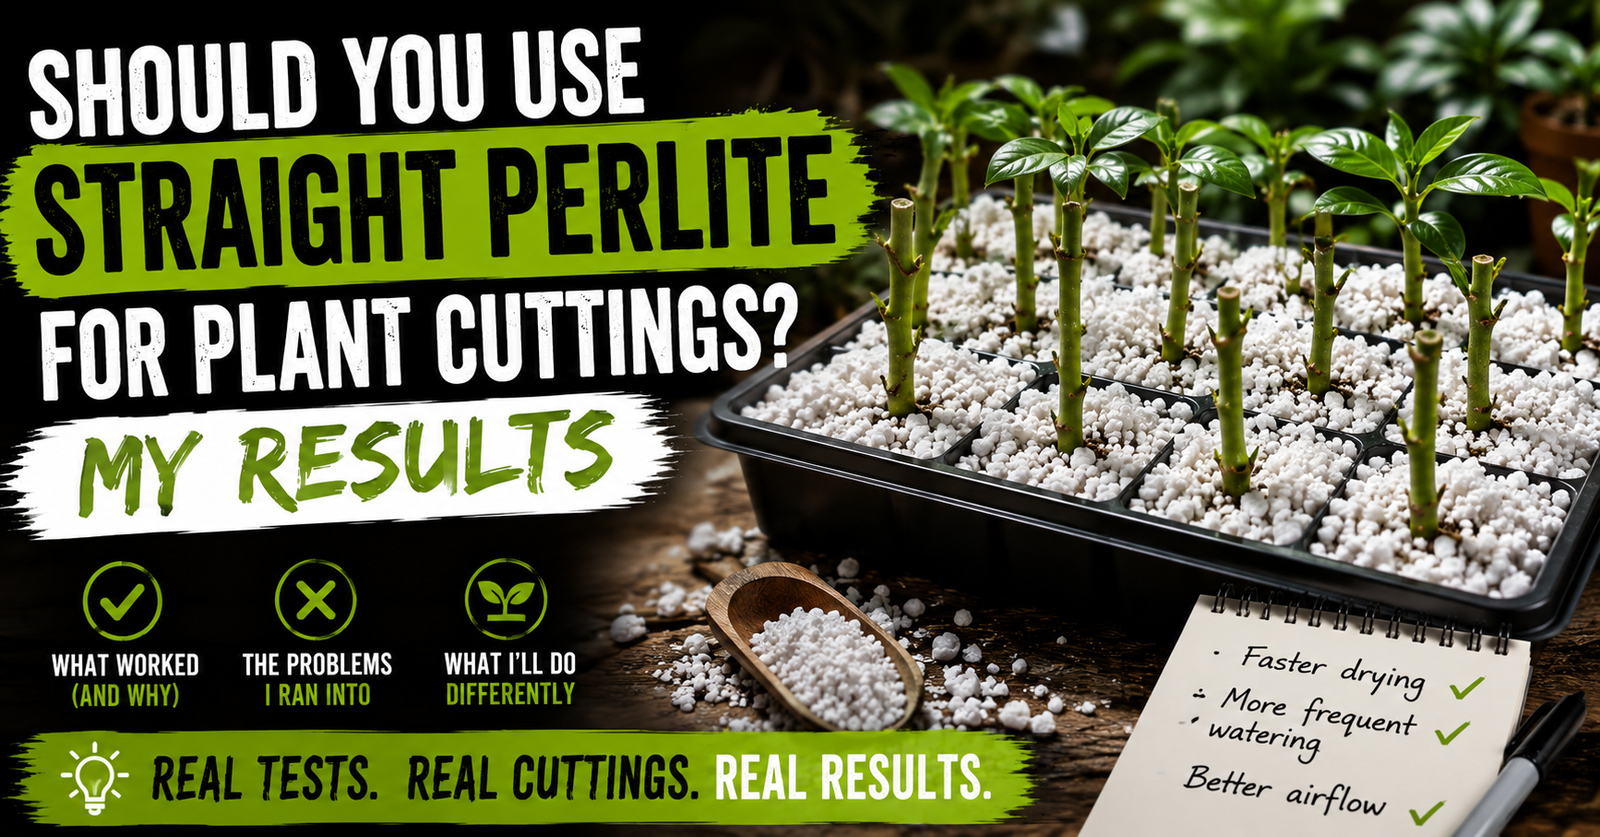
When people first hear that I’ve rooted plants in nothing but perlite, they usually look at me like I’m joking.
“No soil at all?”
“No potting mix?”
“Just those little white rocks?”
Yep.
Just perlite.
The first time I tried it, I wasn’t convinced it would work either.
It seemed too simple.
After all, we’ve spent our entire lives hearing that plants need soil.
So why would a cutting grow roots in something that isn’t even technically soil?
The answer comes down to understanding what a fresh cutting actually needs.
It doesn’t need nutrients.
It doesn’t need fertilizer.
And surprisingly, it doesn’t even need potting soil.
What it needs most is moisture, oxygen, and time.
That’s exactly why straight perlite has become one of my favorite propagation methods for many different plants.
I’ve used it to root hydrangeas, roses, blueberries, elderberries, grapes, figs, houseplants, herbs, and plenty of other species over the years. For elderberries specifically, water propagation for elderberries offers a useful comparison with rooting in perlite.
Does it work for everything?
No.
Is it one of the easiest and most forgiving propagation methods I’ve ever used?
Absolutely.
Why Straight Perlite Works
When you look at a handful of perlite, it doesn’t seem like much.
It’s lightweight.
It feels almost like tiny pieces of popcorn.
And it certainly doesn’t resemble rich garden soil.
That’s actually its biggest advantage.
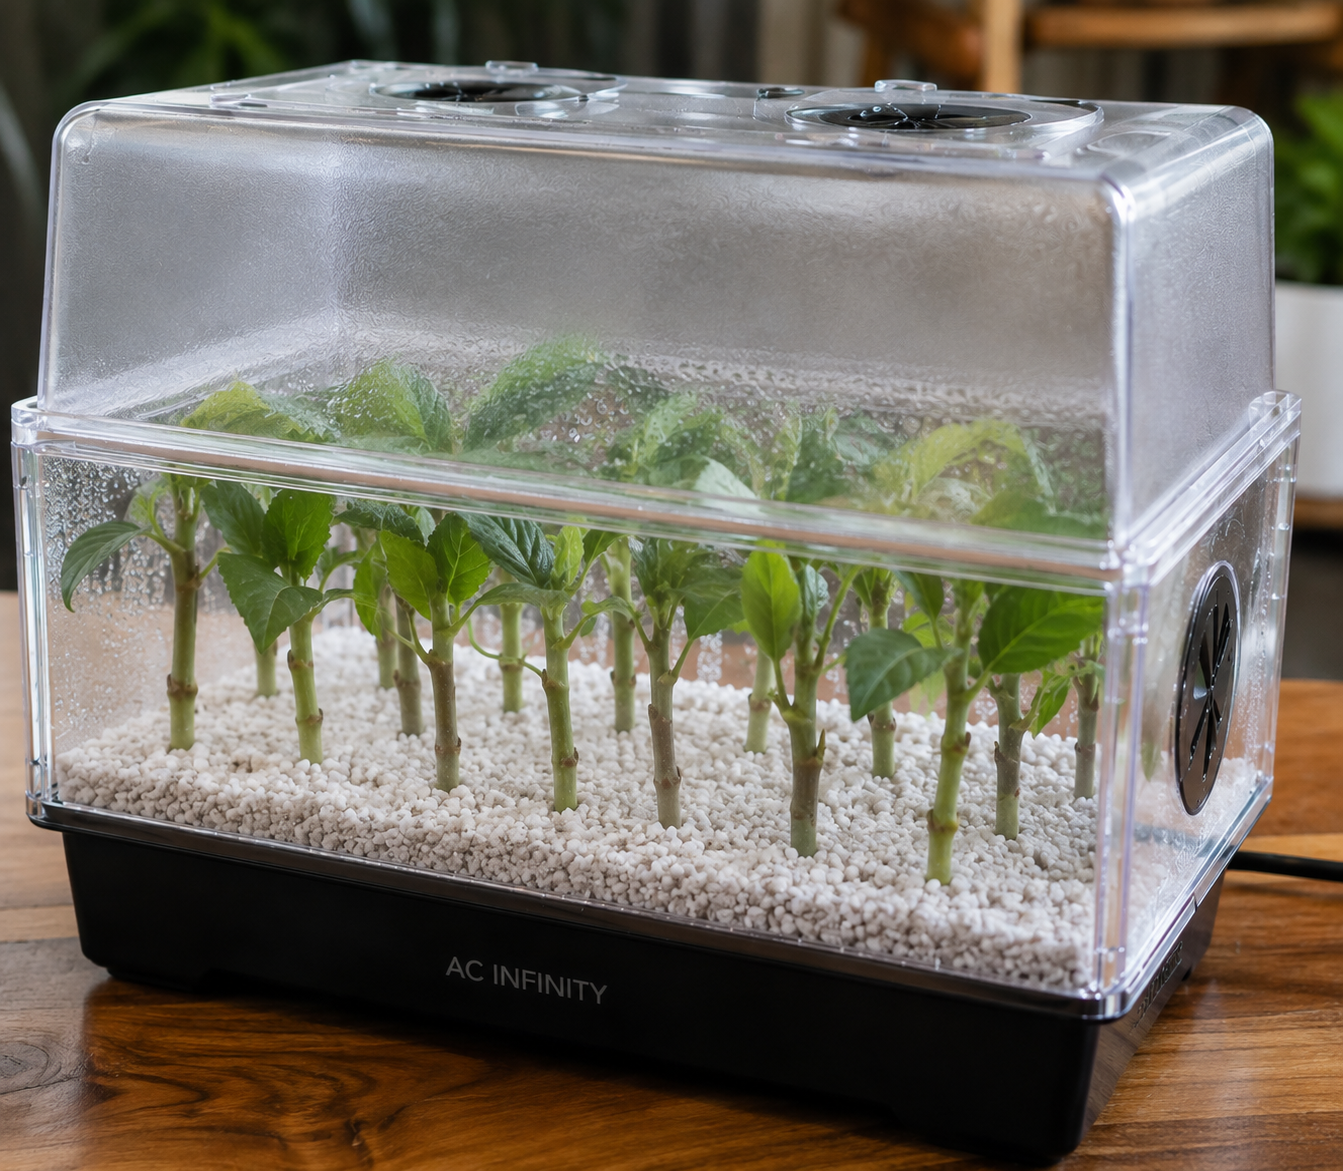
Perlite creates thousands of tiny air spaces around the cutting.
Those spaces hold moisture while allowing oxygen to reach the stem at the same time.
That’s exactly the combination developing roots need.
One mistake I made years ago was assuming the rooting medium needed to stay constantly wet.
The result?
Too many cuttings sitting in soggy conditions.
Once I switched to propagation methods that emphasized airflow just as much as moisture, my success rate improved noticeably.
Straight perlite helped teach me that lesson.
One Thing That Surprised Me
I expected roots.
I didn’t expect the quality of those roots.
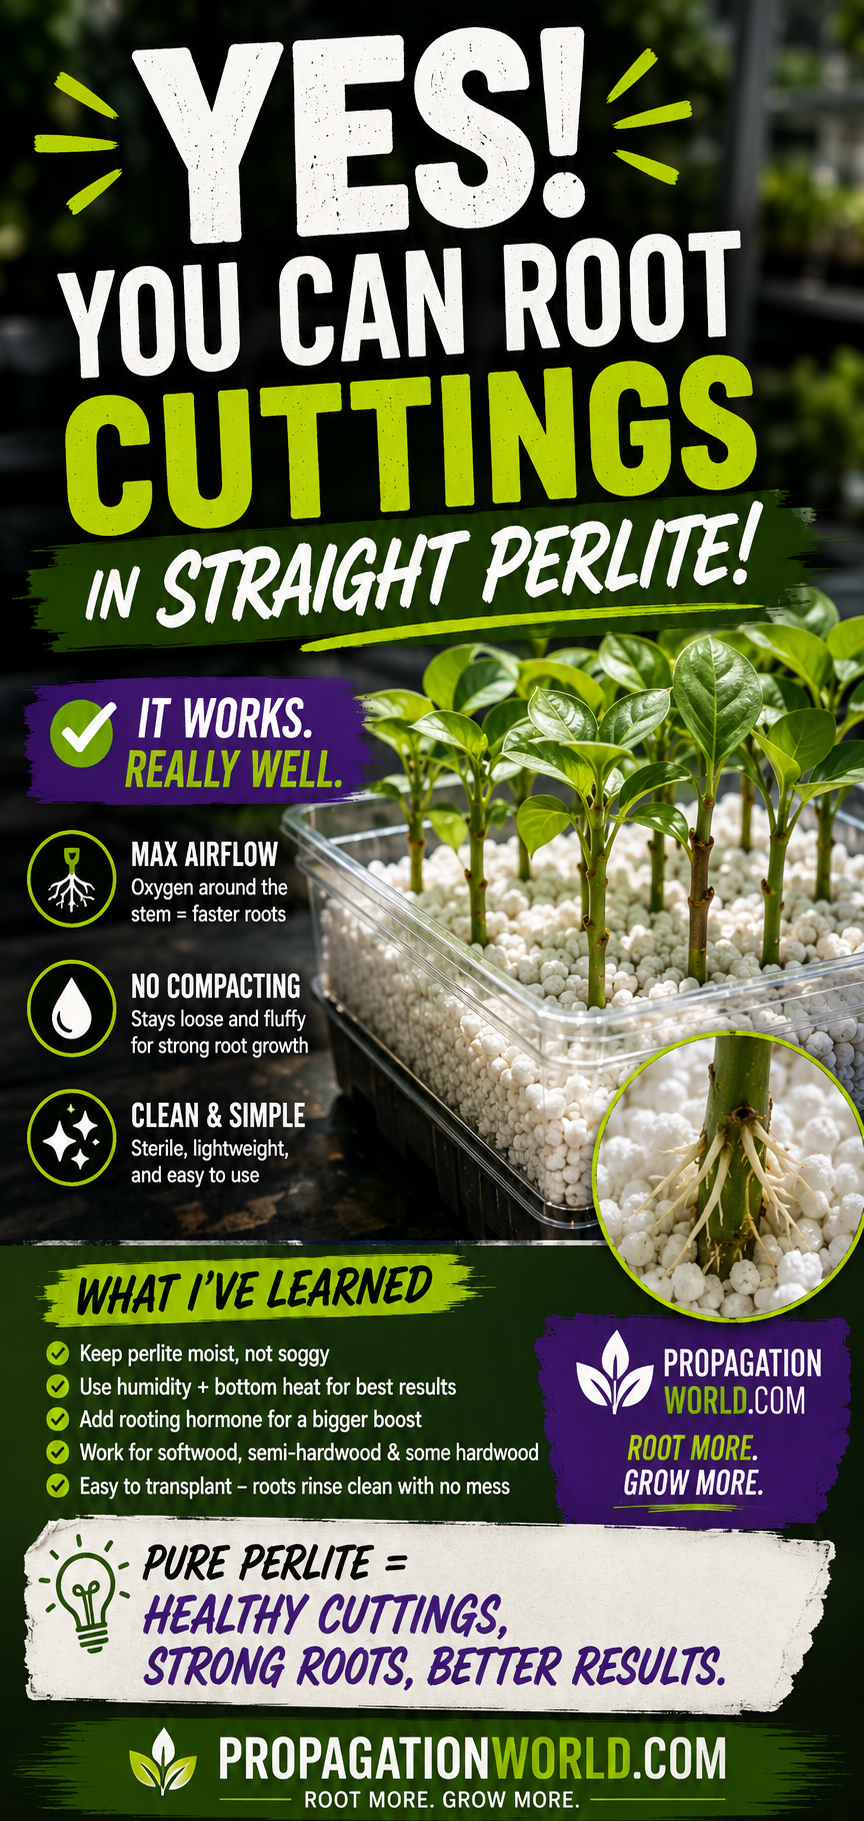
One thing I noticed fairly quickly was how white, healthy, and fibrous many of the root systems looked when I pulled the cuttings out of straight perlite.
The roots weren’t fighting through heavy soil.
They weren’t growing through compacted media.
They developed in a loose, well-aerated environment from the very beginning.
That made transplanting much easier because the young root systems were already vigorous and actively growing.
Not every cutting rooted faster.
But many of them rooted healthier.
To me, that’s even more important.
My Favorite Way to Use Straight Perlite
Although I’ve experimented with several different setups, I usually keep things simple.
I fill a propagation tray or nursery container with damp perlite.
Not soaking wet.
Just evenly moist.
Then I insert healthy cuttings deep enough that at least one or two nodes sit below the surface.
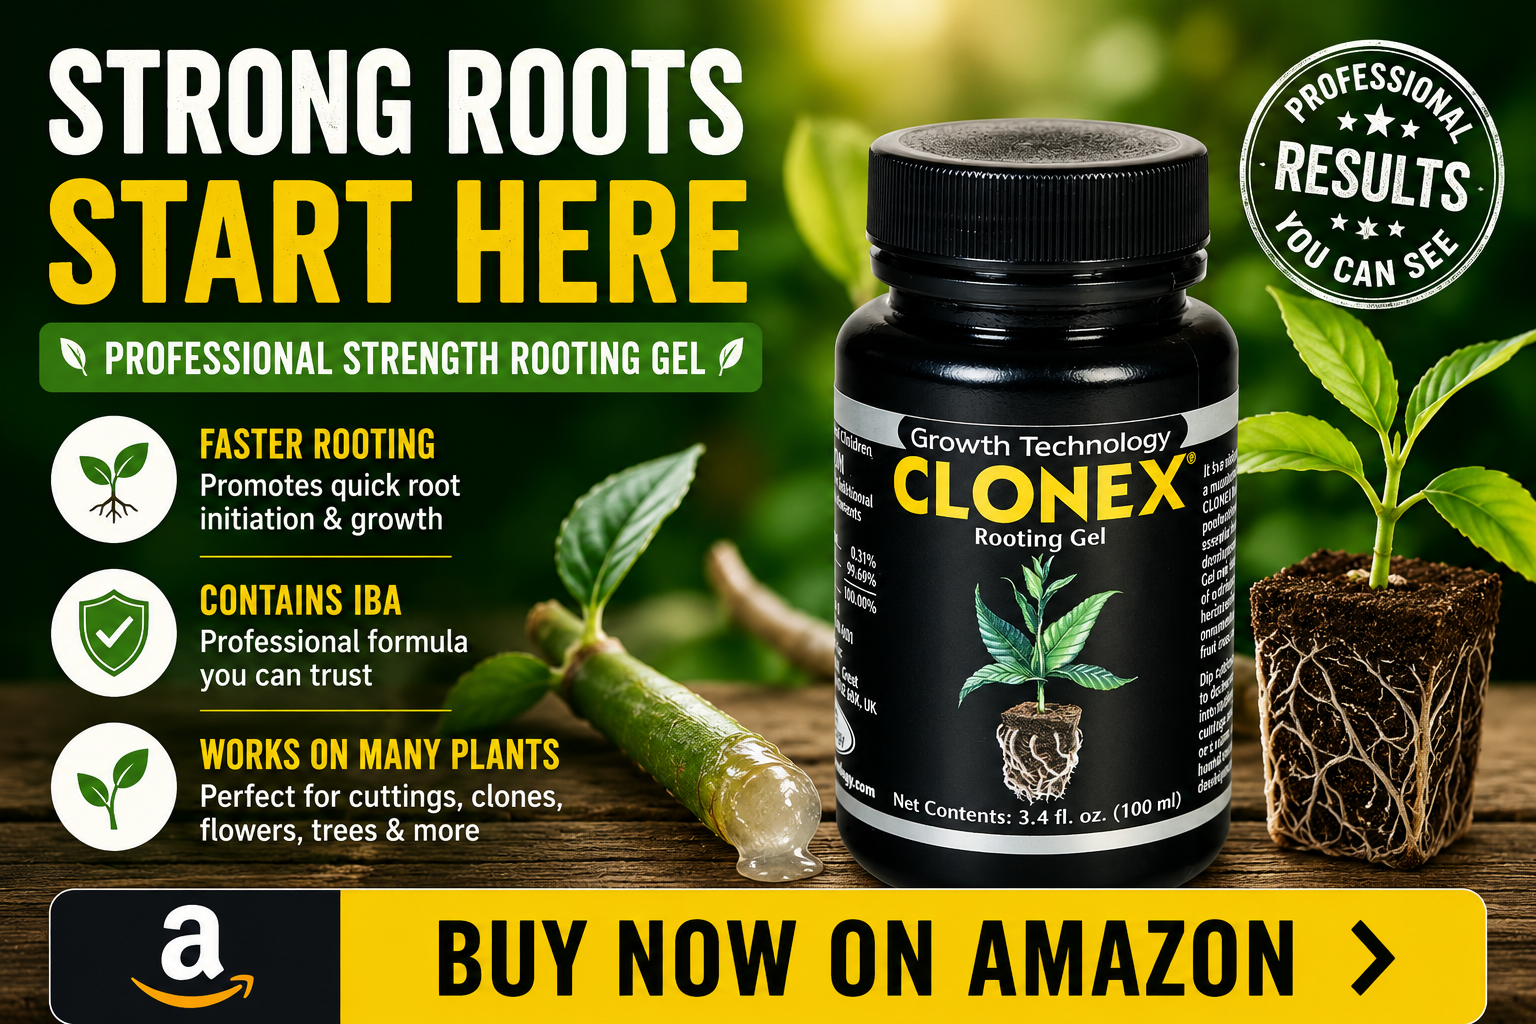
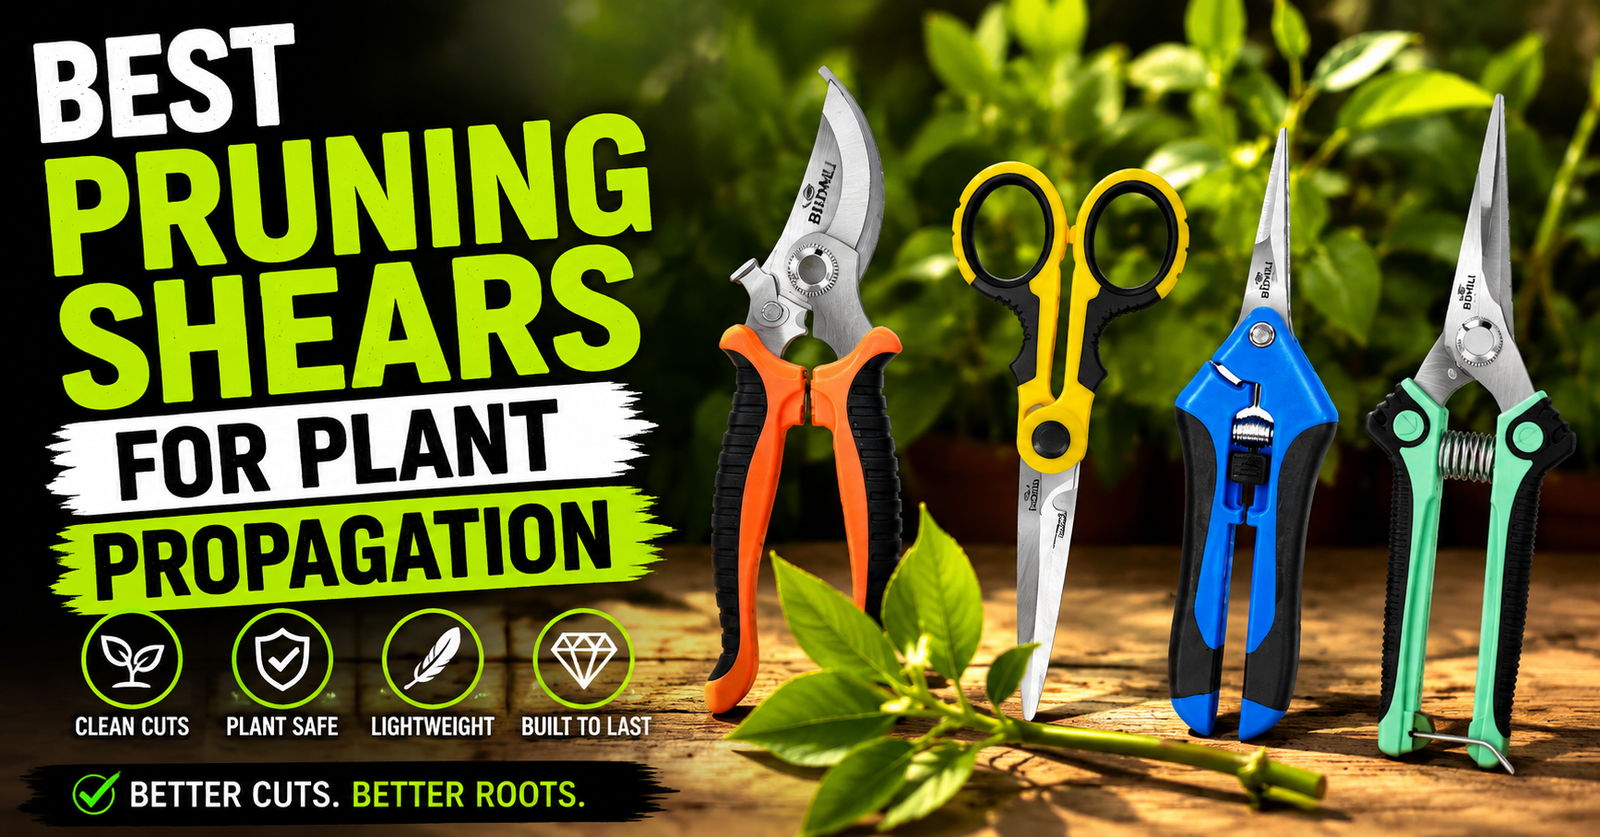
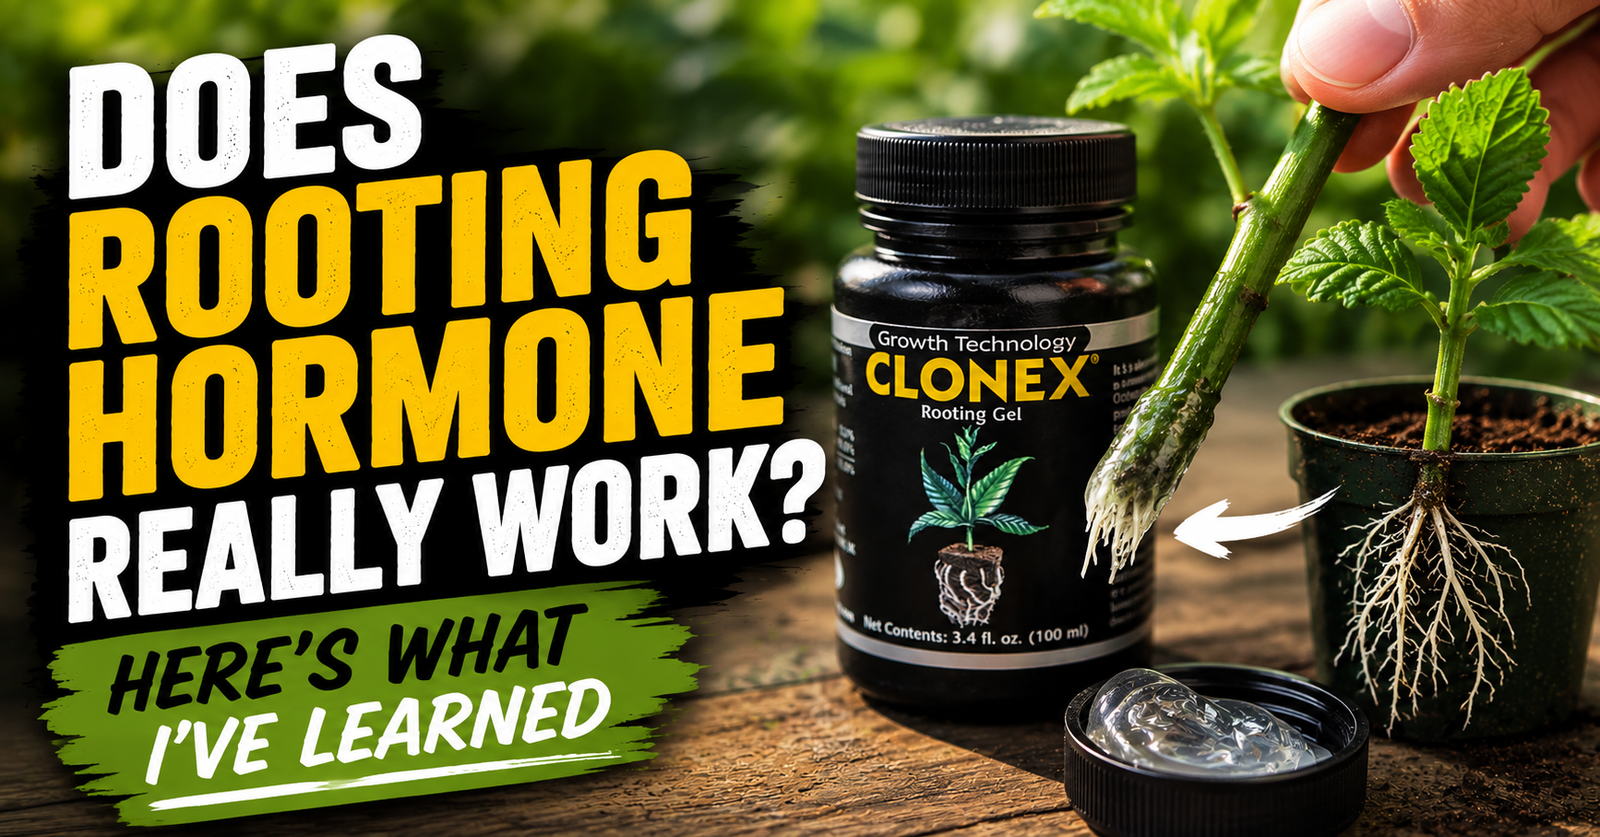
For slower-rooting shrubs and fruit plants, I usually dip the cutting in rooting hormone first. For readers using a rooting hormone with slower-rooting cuttings, Clonex rooting gel hormone is one option to consider.
After that, I place the container somewhere with bright, indirect light and simply monitor moisture levels.
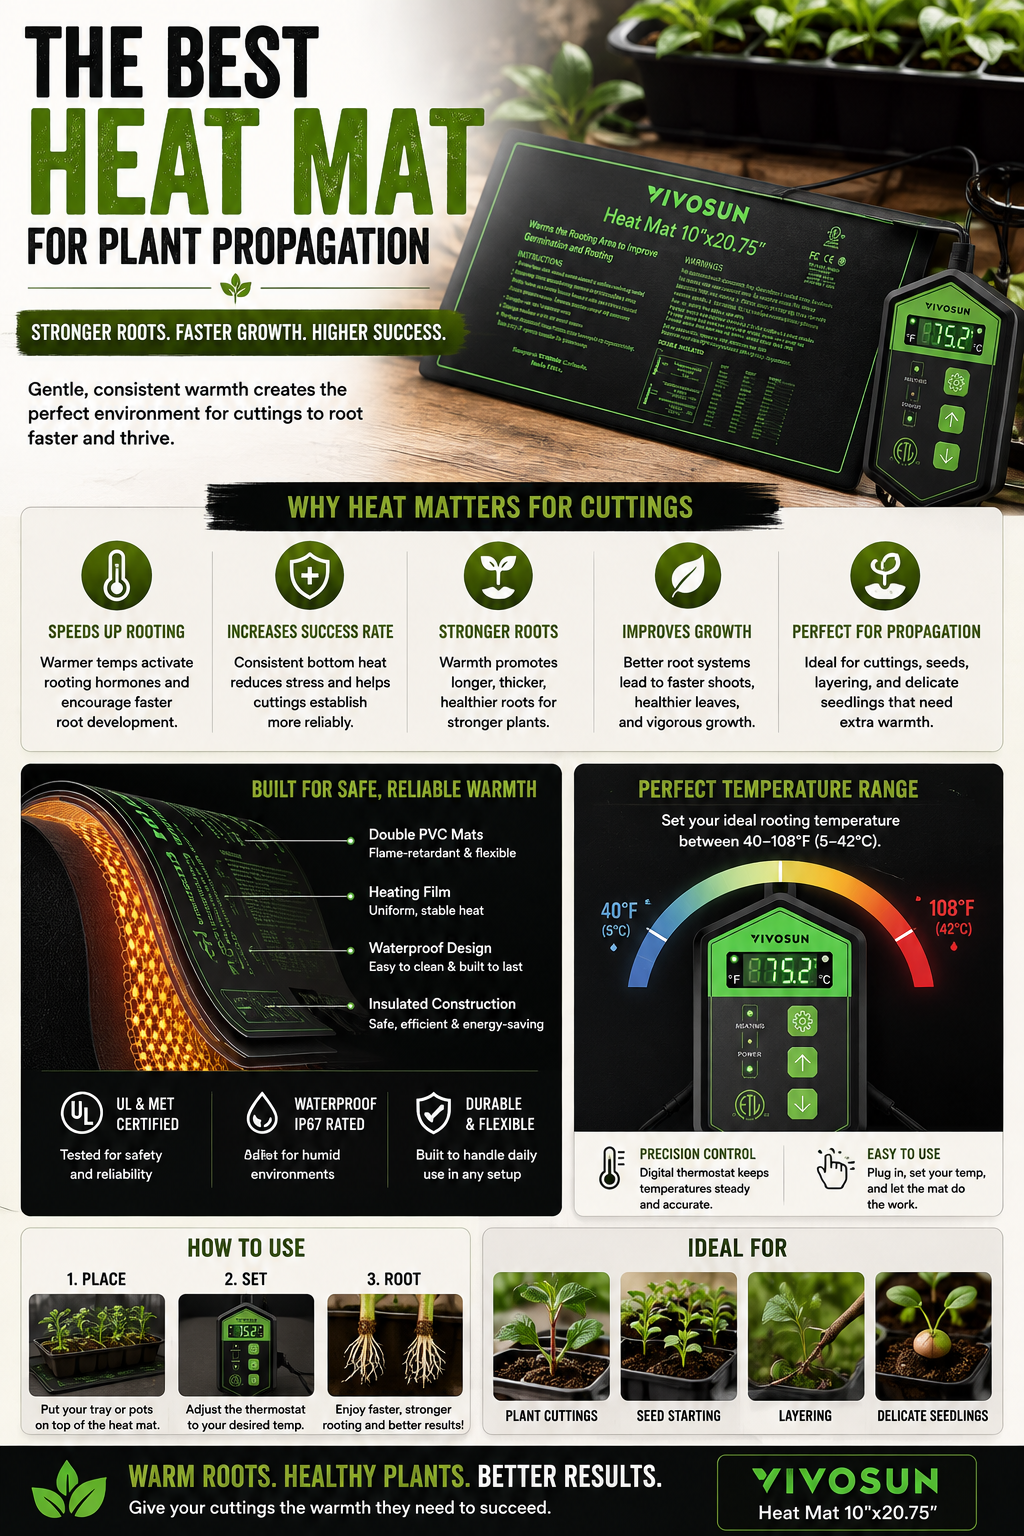
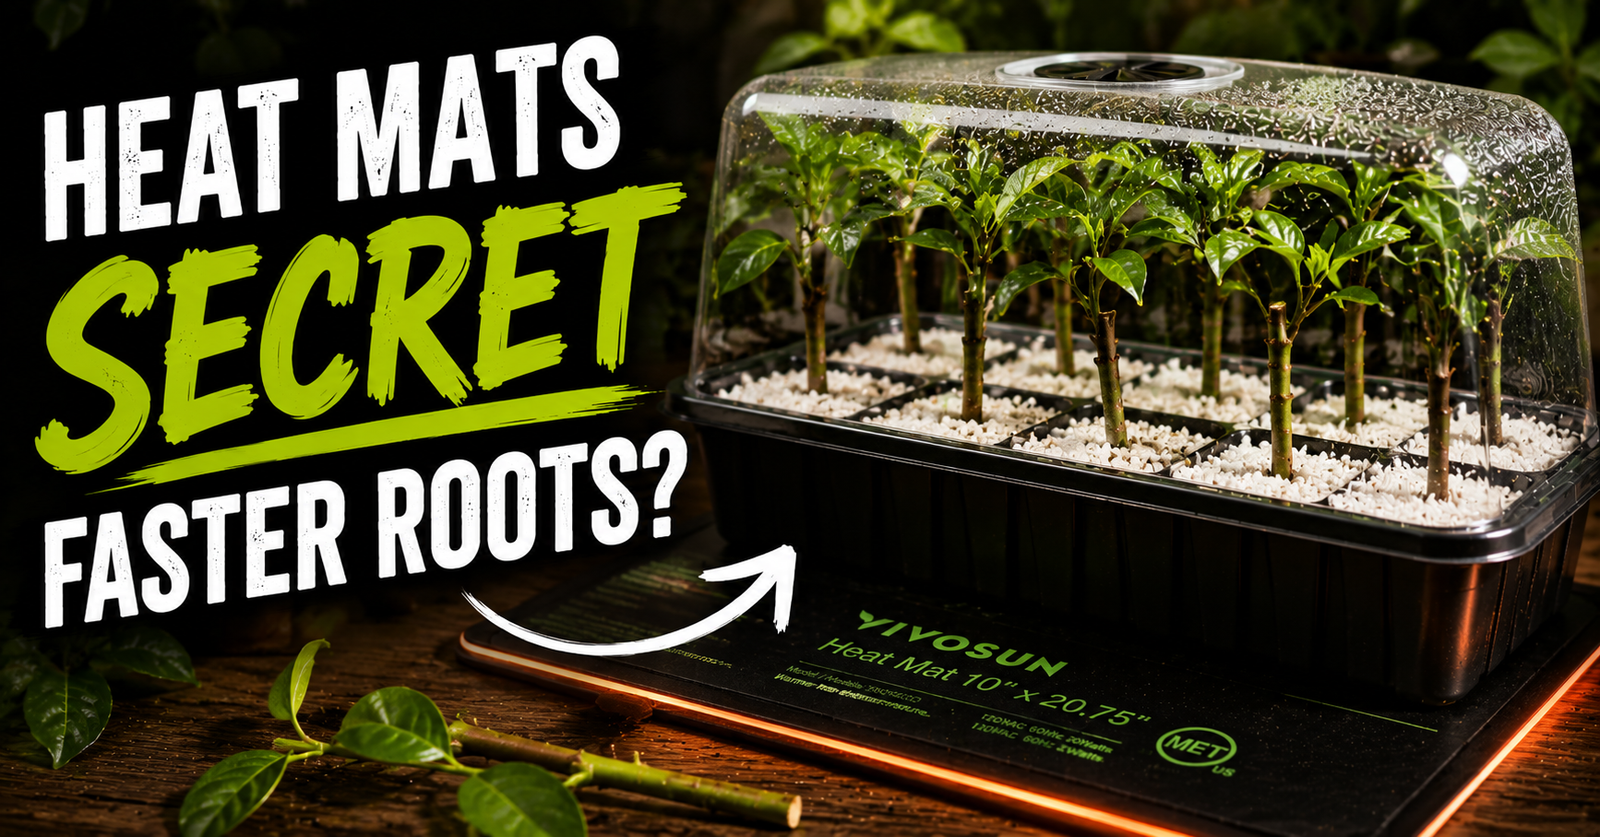
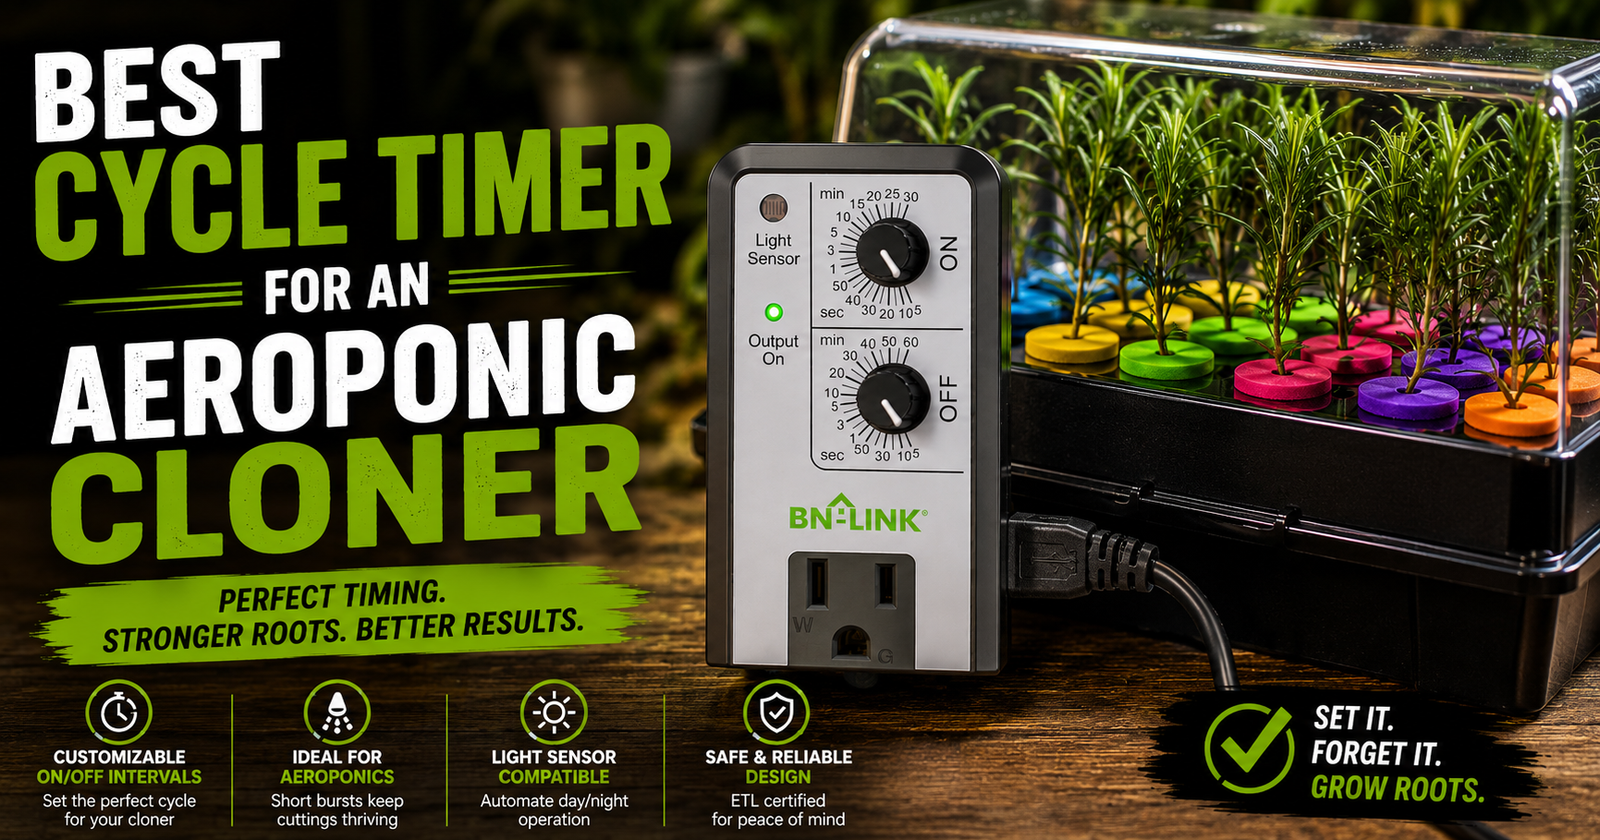
If I’m propagating during cooler weather, I’ll often place the tray on the propagation heat mat I rely on most to keep the rooting medium consistently warm.
That single change has noticeably improved my results with many woody species.
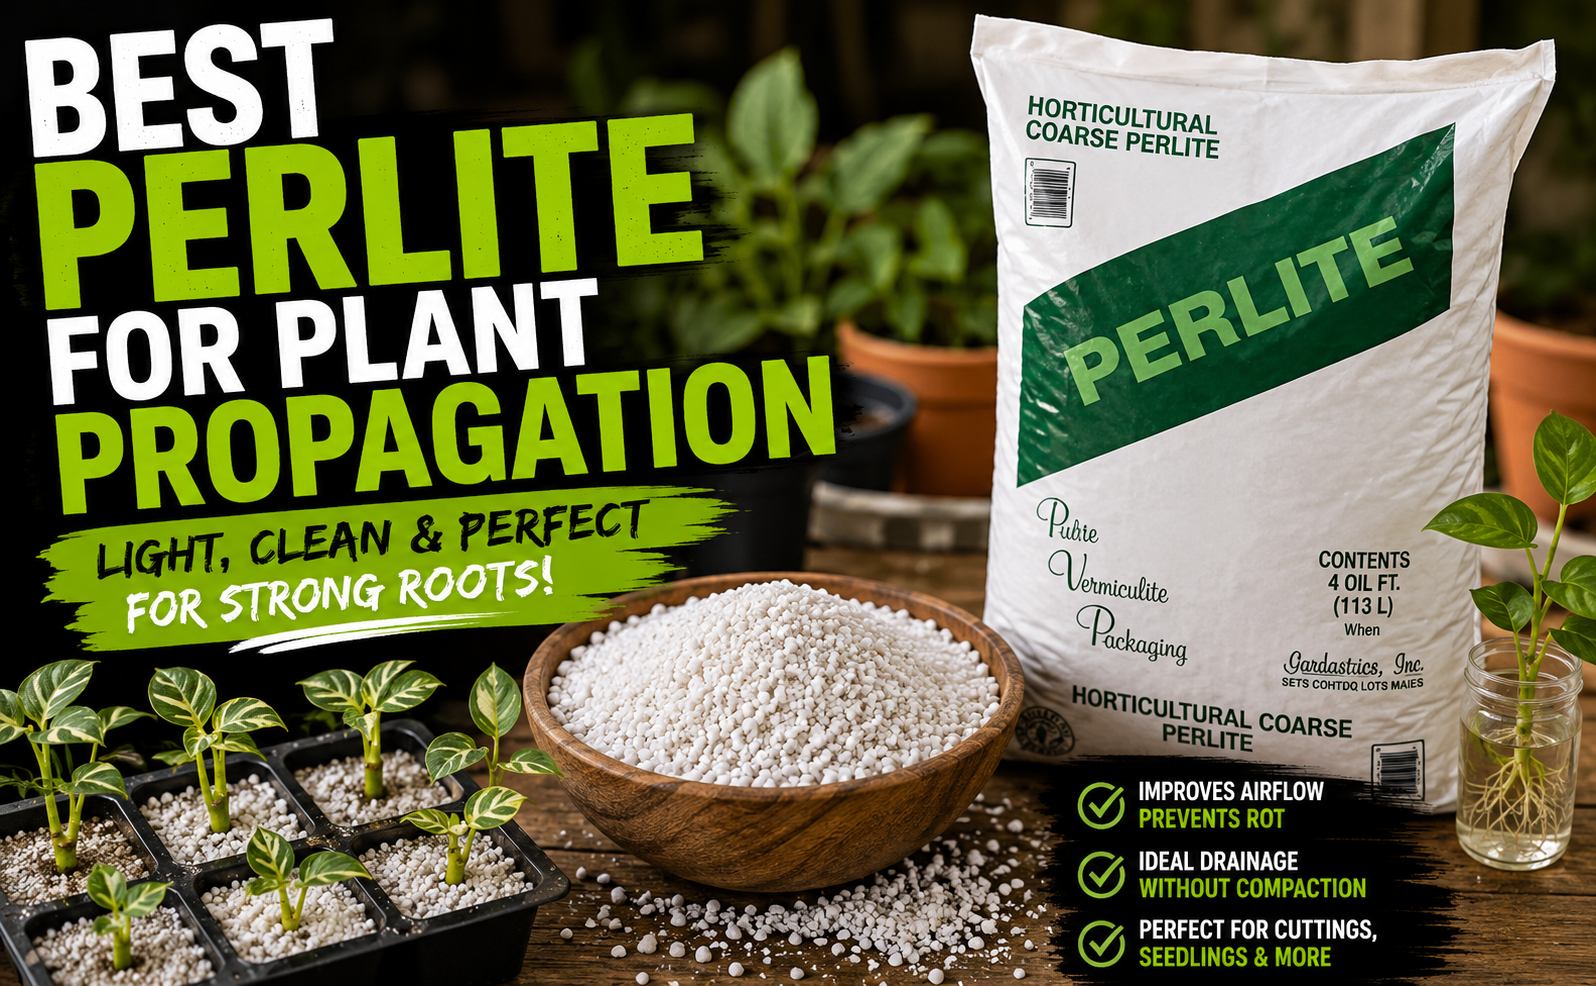
I also use the horticultural perlite I recommend for propagation because the larger bag lasts a long time, the particle size works well for cuttings, and I end up using it throughout the year in potting mixes, seed starting, and countless other gardening projects.
When Straight Perlite Isn’t My First Choice
As much as I like straight perlite, I don’t use it for every propagation project.
That’s one thing you’ll probably notice throughout this website.
I try not to force the same technique onto every plant.
Some species root incredibly well in straight perlite.
Others seem happier with a propagation mix that holds moisture a little longer.
I’ve also found that your growing environment matters just as much as the plant itself.
If you’re propagating in a hot greenhouse during the middle of July, straight perlite may dry faster than you’d like.
If you’re rooting cuttings in a cool basement during the winter, it may stay moist much longer.
That’s why I encourage gardeners to pay attention to what’s happening inside their own propagation trays instead of blindly following someone else’s schedule.
Good propagation is more about observation than memorization.
My Biggest Mistake With Straight Perlite
The biggest mistake I made had nothing to do with the perlite itself.
It was how I watered it.
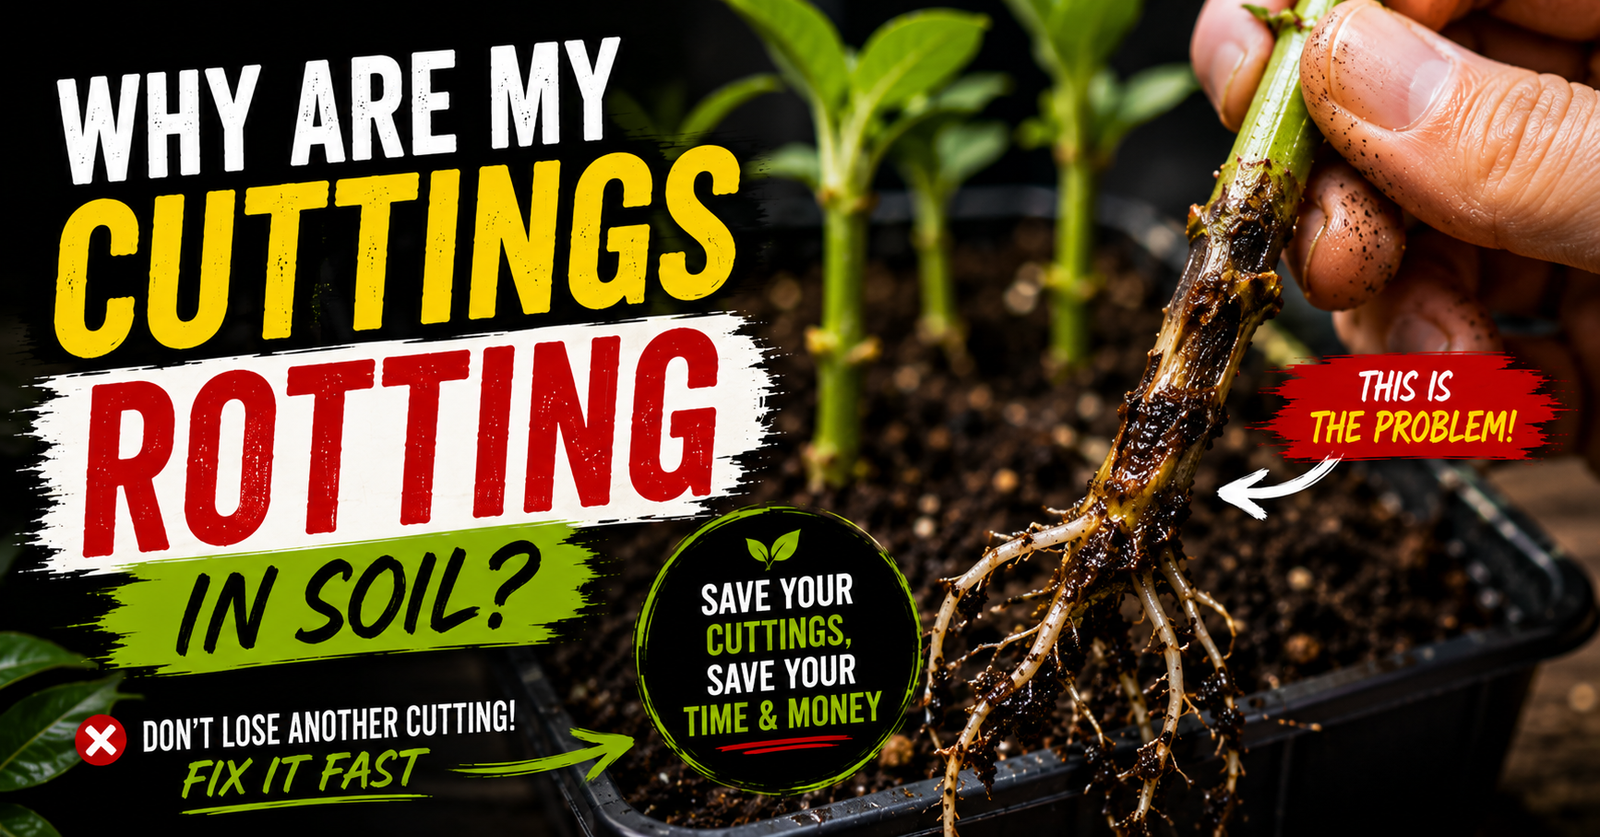
Because the surface of perlite dries quickly and turns bright white, I assumed the entire container had dried out.
So I watered it.
Again.
And again.
Eventually I realized something important.
The top half inch looked dry.
Everything underneath was still perfectly moist.
I was judging the moisture level by appearance instead of actually checking the growing medium.
Now I simply stick my finger down into the perlite or lift the container to get a feel for its weight before adding more water.
That one small change probably saved more cuttings than switching propagation methods ever did.
Should You Add Anything to Straight Perlite?
Sometimes.
Sometimes not.
If I’m rooting an easy houseplant, I’ll often use nothing more than damp perlite.
For more challenging woody plants, I usually combine straight perlite with a rooting hormone because it gives those slower-rooting cuttings an extra advantage during the first few weeks.
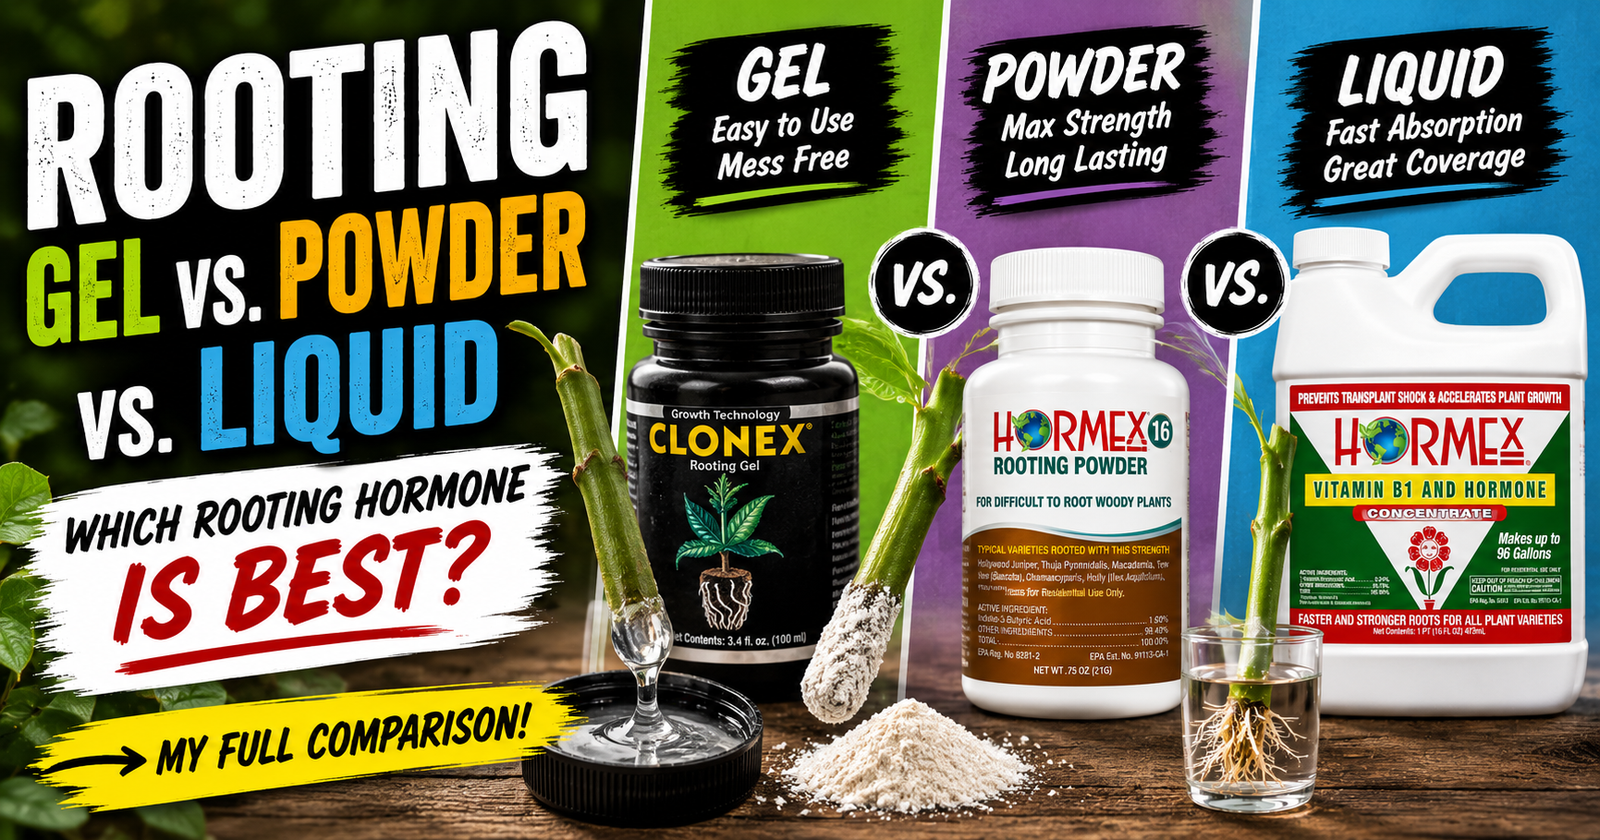
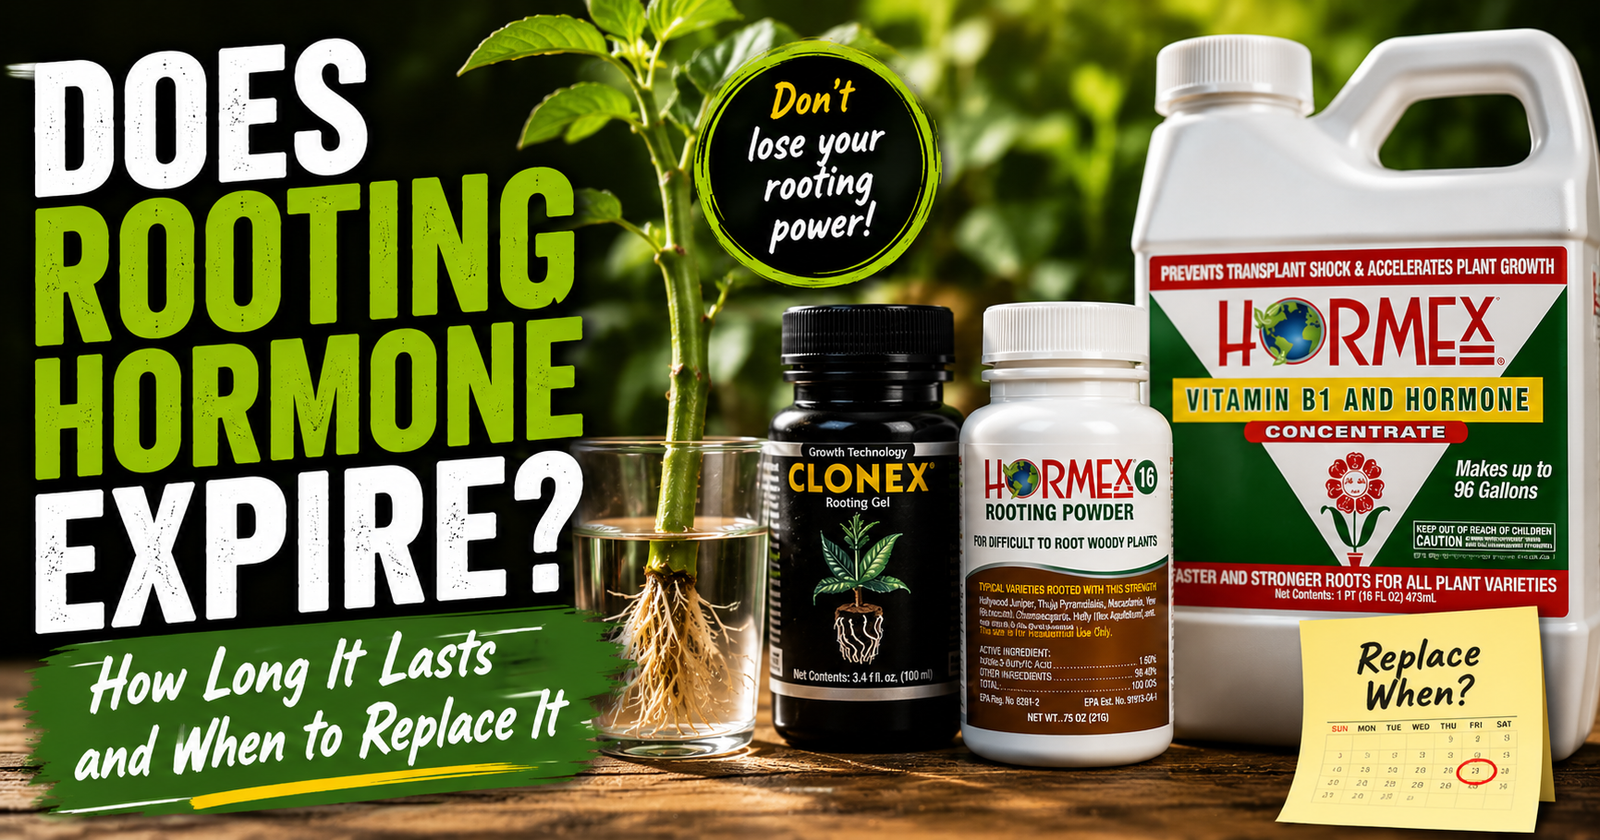
If you’re still trying to decide which rooting hormone works best, I put together a comparison of rooting gels, powders, and liquids after using all three.
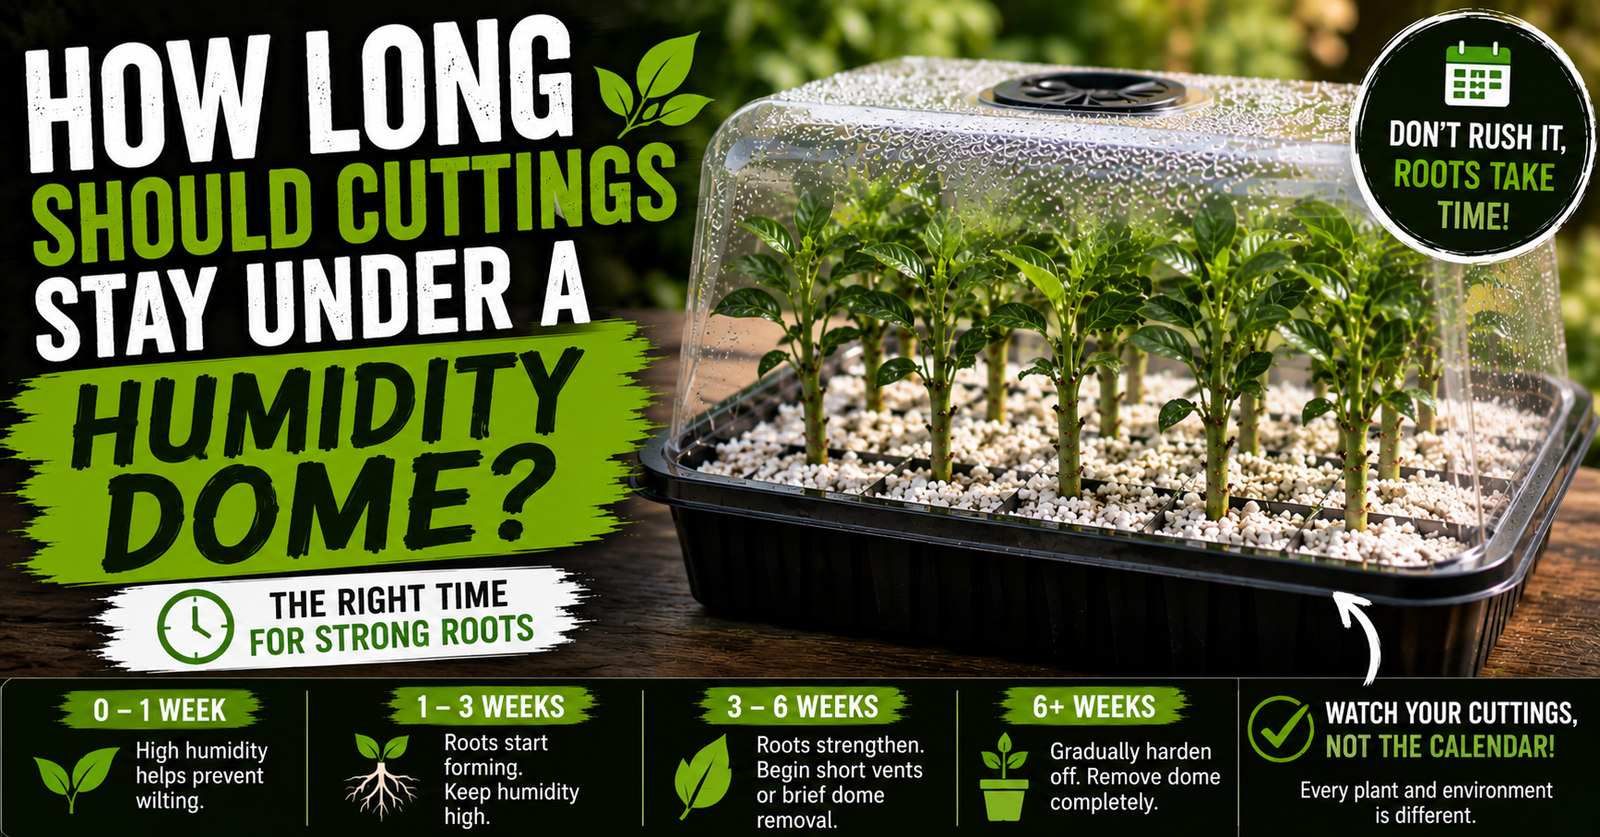
I also like keeping humidity high while the cuttings are waiting for roots.
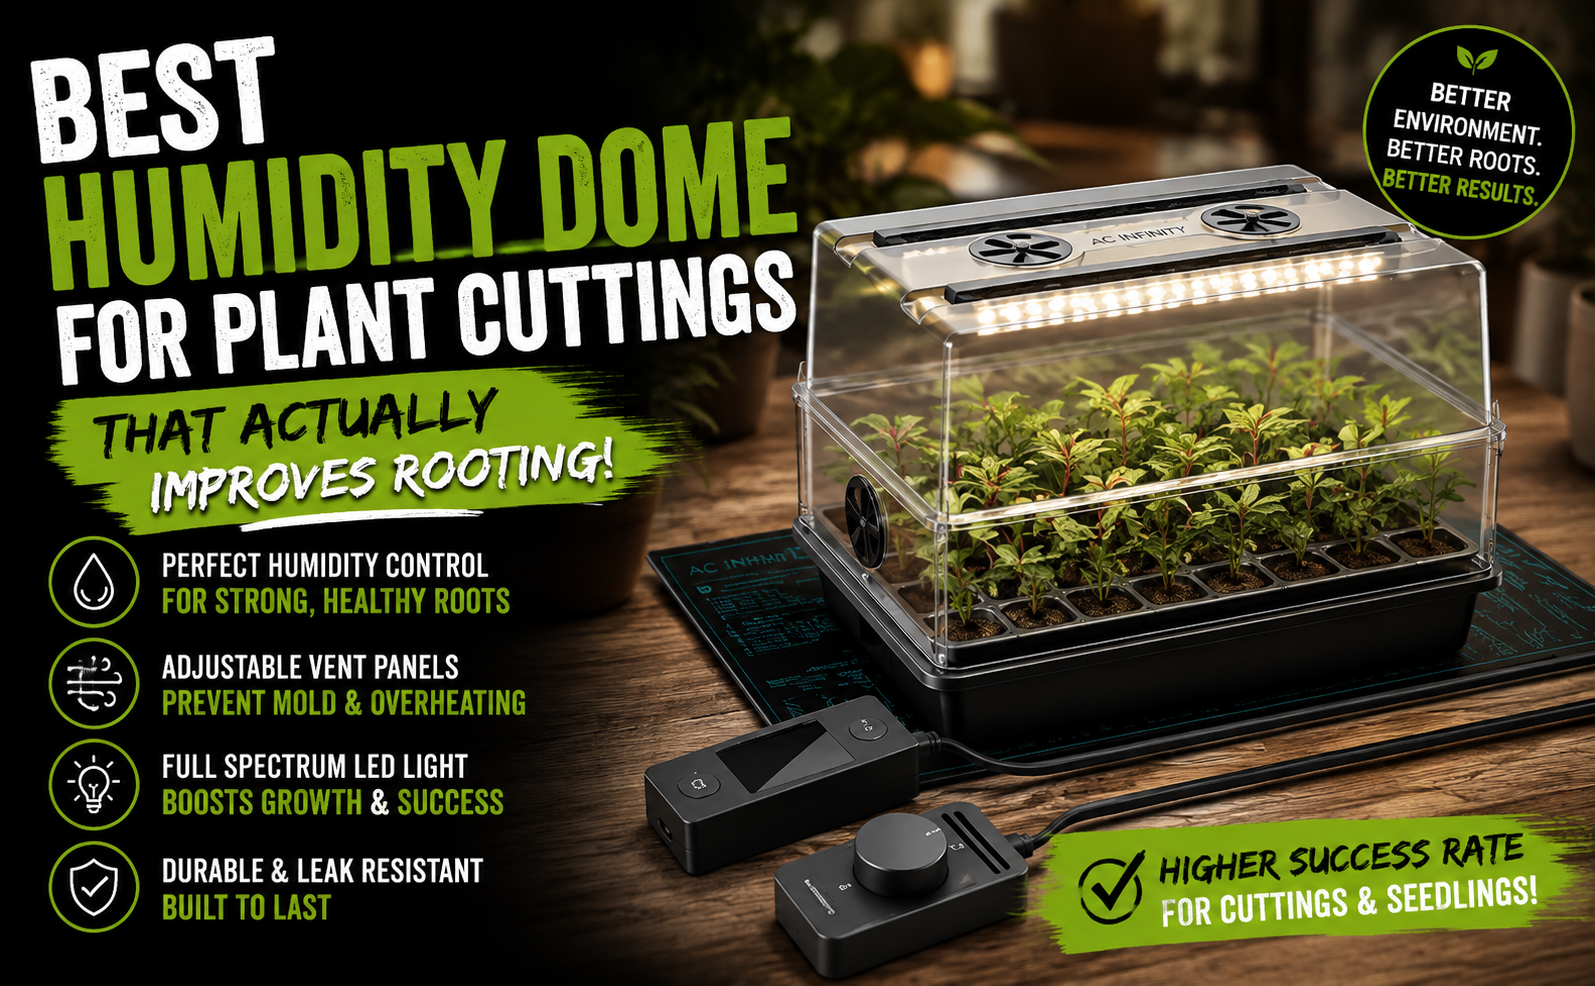
For many shrubs and fruit plants, using a quality humidity dome has helped reduce wilting and moisture loss during those critical first few weeks.
None of those additions are magic.
They simply create a better environment for successful propagation.
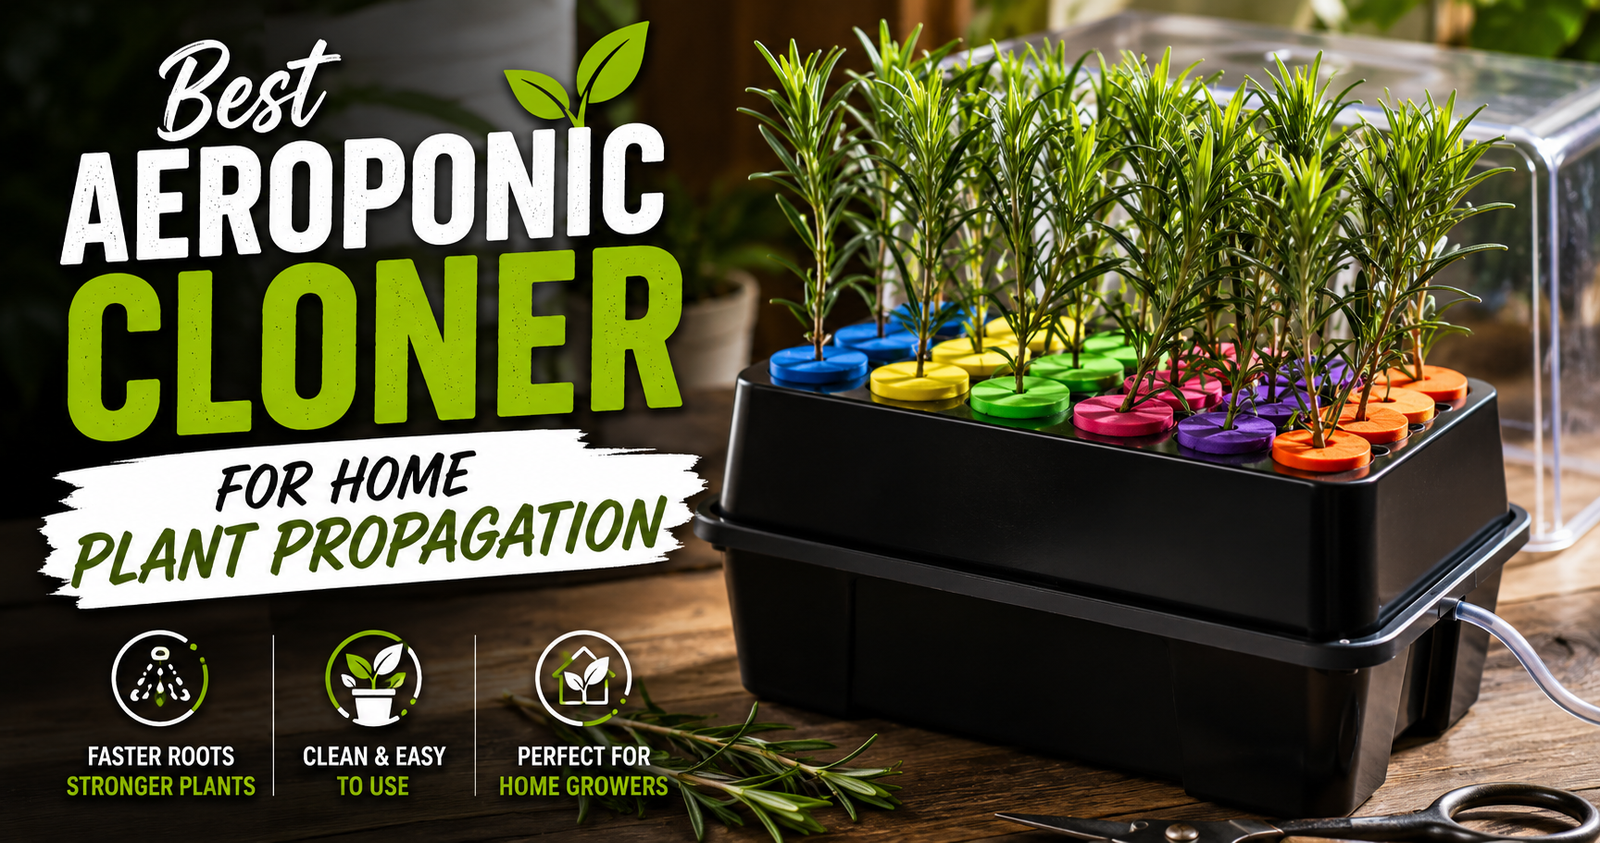
Straight Perlite vs. A Perlite Mix
People often ask which method I prefer.
The honest answer is… both.
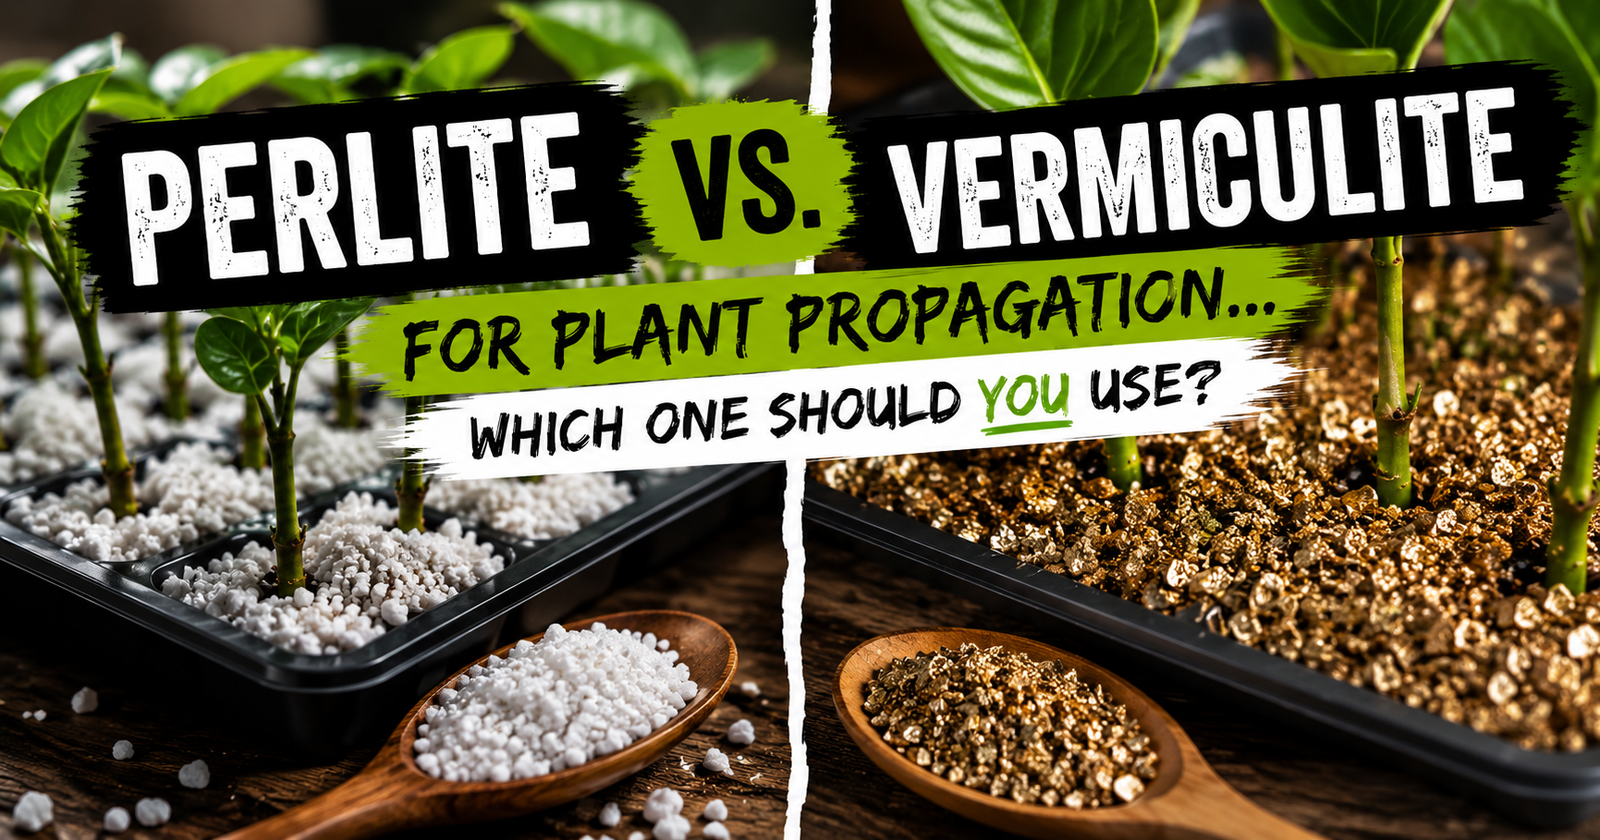
Straight perlite shines when maximum drainage and airflow are the priorities.
A propagation mix containing perlite often holds moisture a little longer, which can reduce how often you need to water.
Neither method is automatically better.
It depends on the plant, your environment, and even how often you’re able to check your cuttings.
If I know I won’t be around to monitor moisture every day, I’ll usually lean toward a mix that holds water slightly longer.
If I’m rooting cuttings that are especially prone to stem rot, I’ll often choose straight perlite because the extra drainage gives me more confidence.
One thing I don’t recommend is assuming there’s only one right answer.
Some of my best propagation experiments came from trying different methods side by side instead of relying on assumptions.
What Happened After I Started Using Straight Perlite More Often
The biggest change wasn’t that every cutting suddenly rooted faster.
The biggest change was consistency.
I stopped losing as many cuttings to soggy propagation mixes.
The root systems I developed were healthier.
Transplanting became easier because the roots weren’t tangled in heavy potting soil.
Cleaning propagation containers also became much simpler.
Instead of dumping out muddy soil after every batch of cuttings, I could quickly empty the perlite, clean the container, and prepare it for the next propagation project.
Those little improvements add up over time.
When you’re propagating dozens or even hundreds of cuttings throughout the year, saving a little time while improving your success rate is a pretty good combination.
Frequently Asked Questions
Does straight perlite have enough nutrients for cuttings?
Yes.
This surprises a lot of people.
Fresh cuttings aren’t trying to grow into large, leafy plants right away.
Their first priority is producing roots.
During that stage, the cutting is primarily relying on the energy and nutrients already stored inside the stem.
That’s why a nutrient-rich potting soil isn’t nearly as important as many beginners think.
Once a healthy root system has developed, that’s when I transplant the cutting into an appropriate potting mix and begin treating it like a normal plant.
How often should you water straight perlite?
There’s no schedule that works every time.
Temperature, humidity, container size, and the type of plant all affect how quickly moisture disappears.
I never water because the calendar says it’s time.
I water because the propagation medium actually needs it.
One trick that’s helped me over the years is checking below the surface instead of judging by appearance.
The top layer of perlite often looks bone dry while the rest of the container is still holding plenty of moisture.
Can you reuse perlite after rooting cuttings?
You usually can.
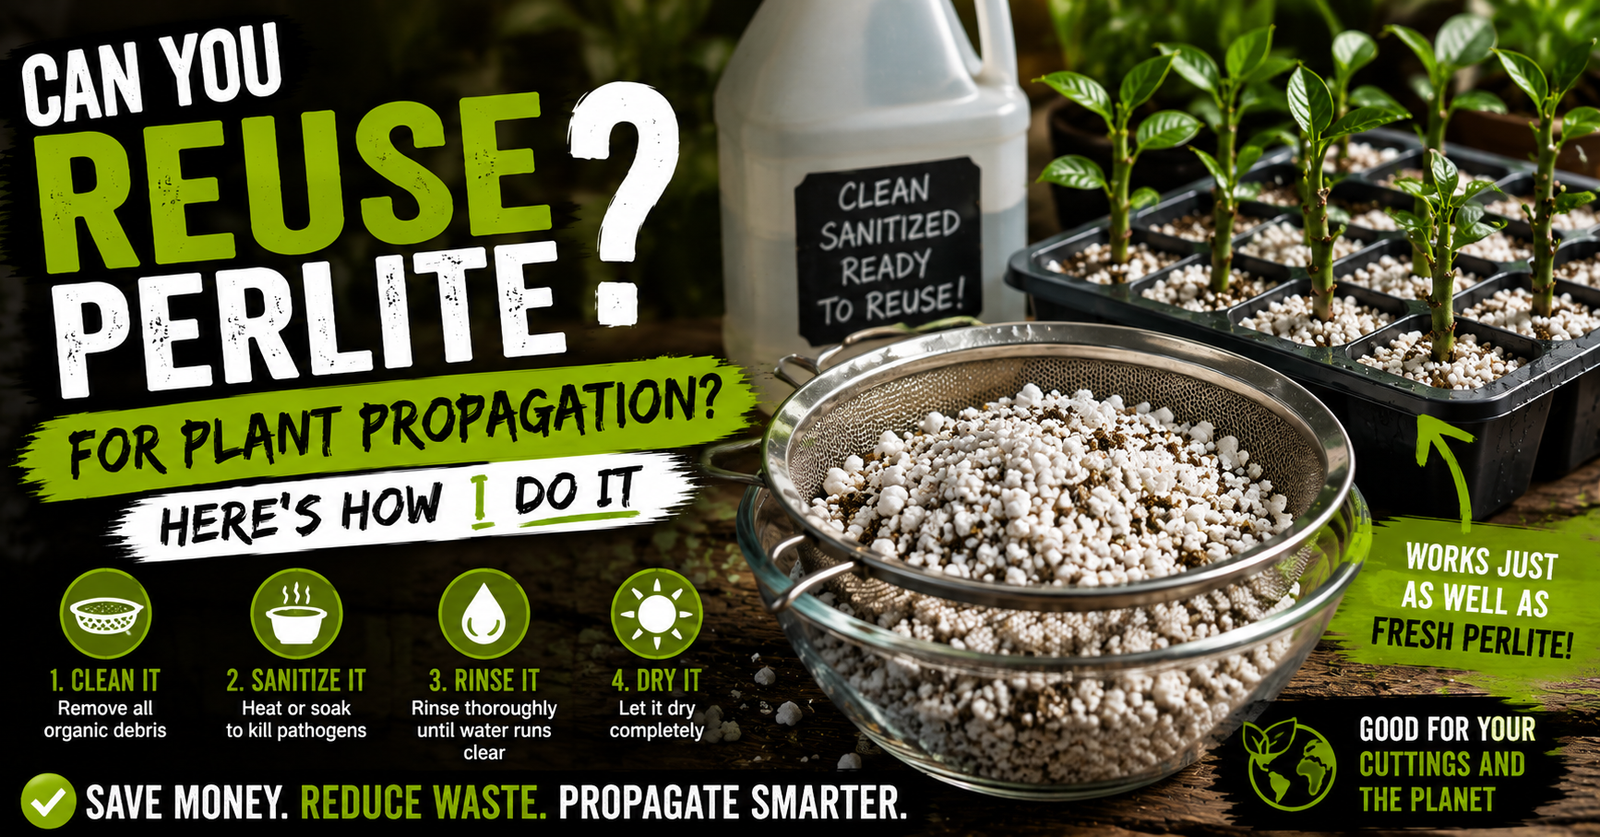
If the cuttings stayed healthy and there were no signs of disease, I’ll often rinse the perlite thoroughly, let it dry, and use it again. For the full cleaning process and guidance on when to start fresh, see how to safely reuse perlite.
If I had problems with stem rot, fungal disease, or pests, I don’t take chances.
Fresh perlite costs far less than replacing valuable cuttings.
Should you use a humidity dome with straight perlite?
For many plants, yes.
Straight perlite provides excellent conditions below the surface.
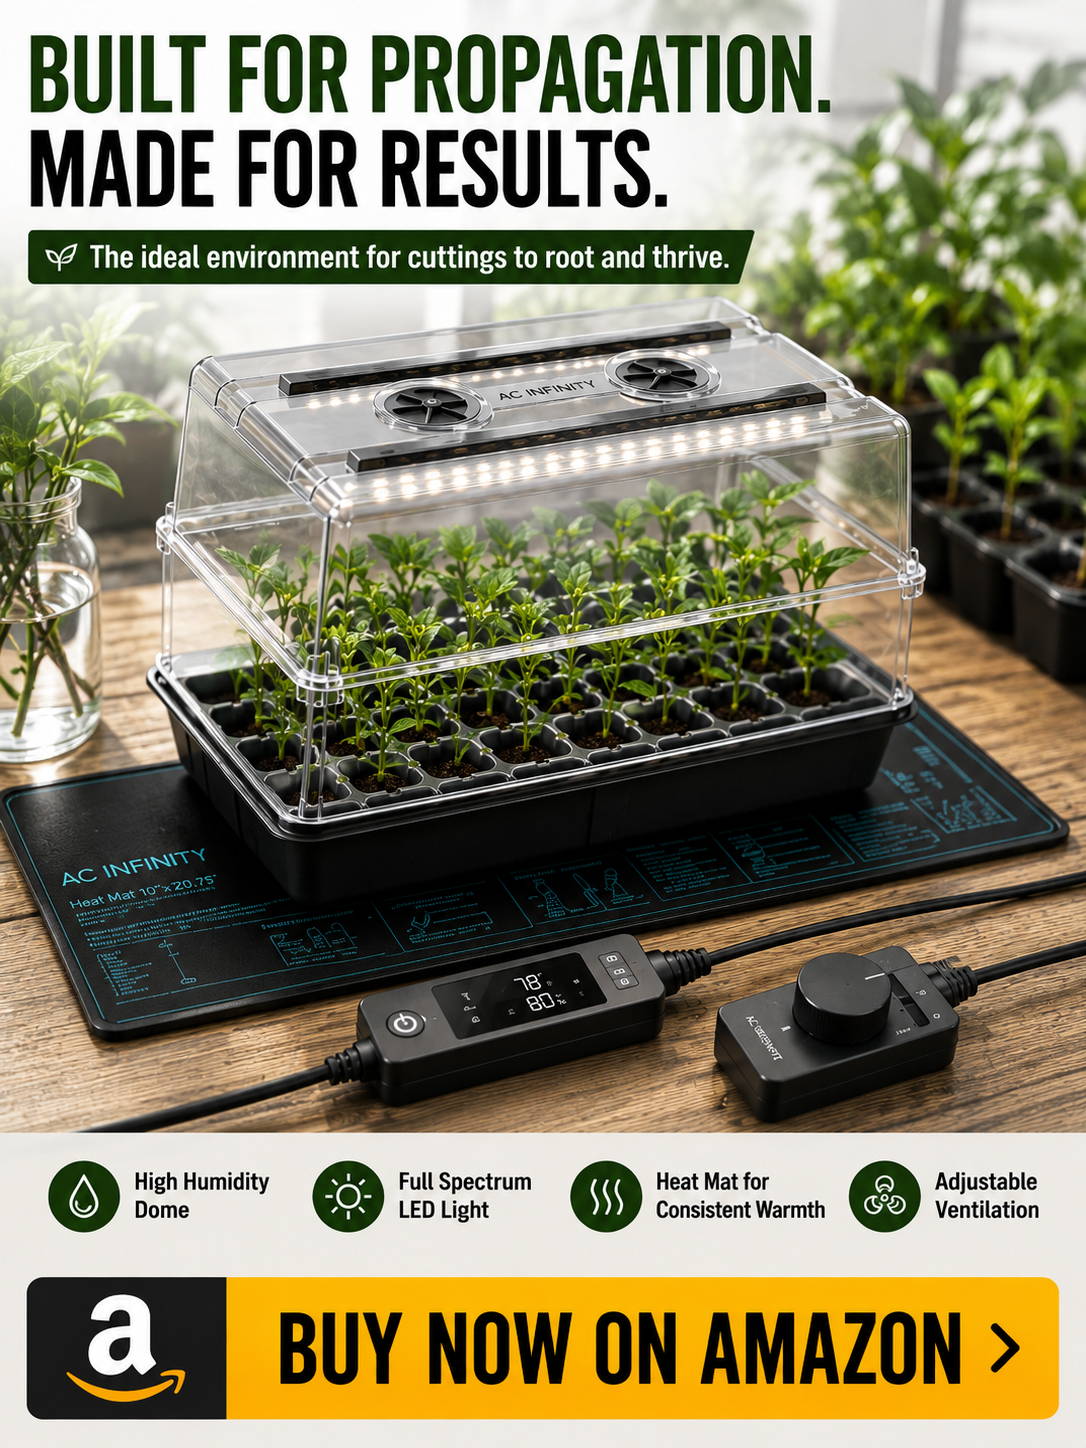
A humidity dome helps protect everything above the surface. Gardeners who want to maintain higher humidity around cuttings can consider an adjustable humidity dome.
The two tools complement each other really well.
The perlite encourages healthy root development while the humidity dome slows moisture loss through the leaves.
If you’re propagating woody shrubs, berry bushes, or fruit trees, I think it’s a combination that’s well worth trying.
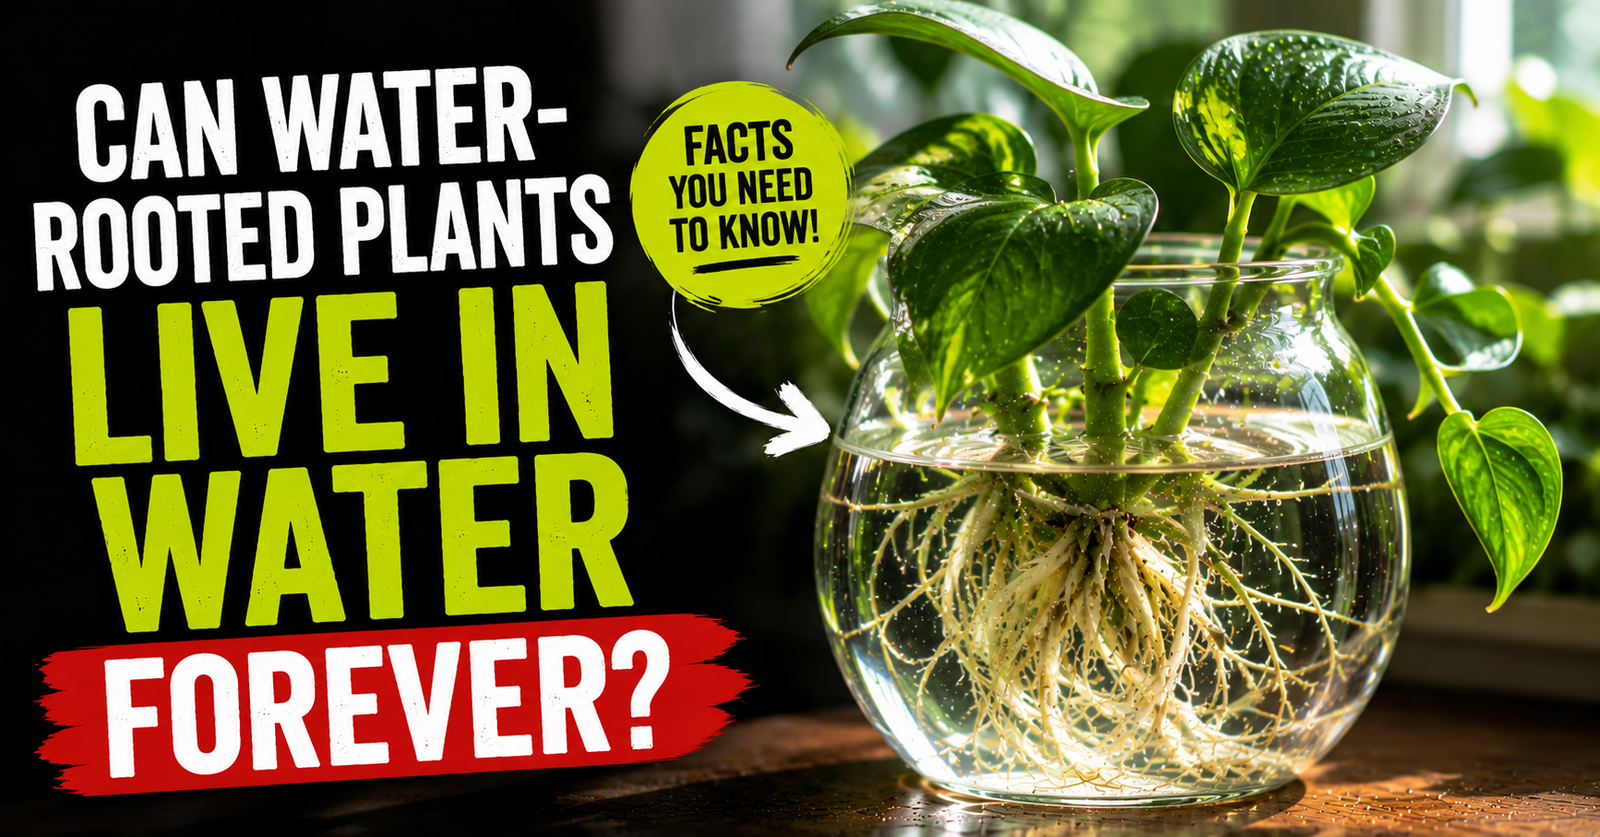
Is straight perlite better than water propagation?
They’re simply different approaches.
Water propagation is fun because you can watch the roots develop.
Straight perlite usually creates an environment with much more oxygen around the developing roots.
I’ve found that many plants transition into potting soil more smoothly after rooting in perlite because the roots have already developed in a solid growing medium instead of water.
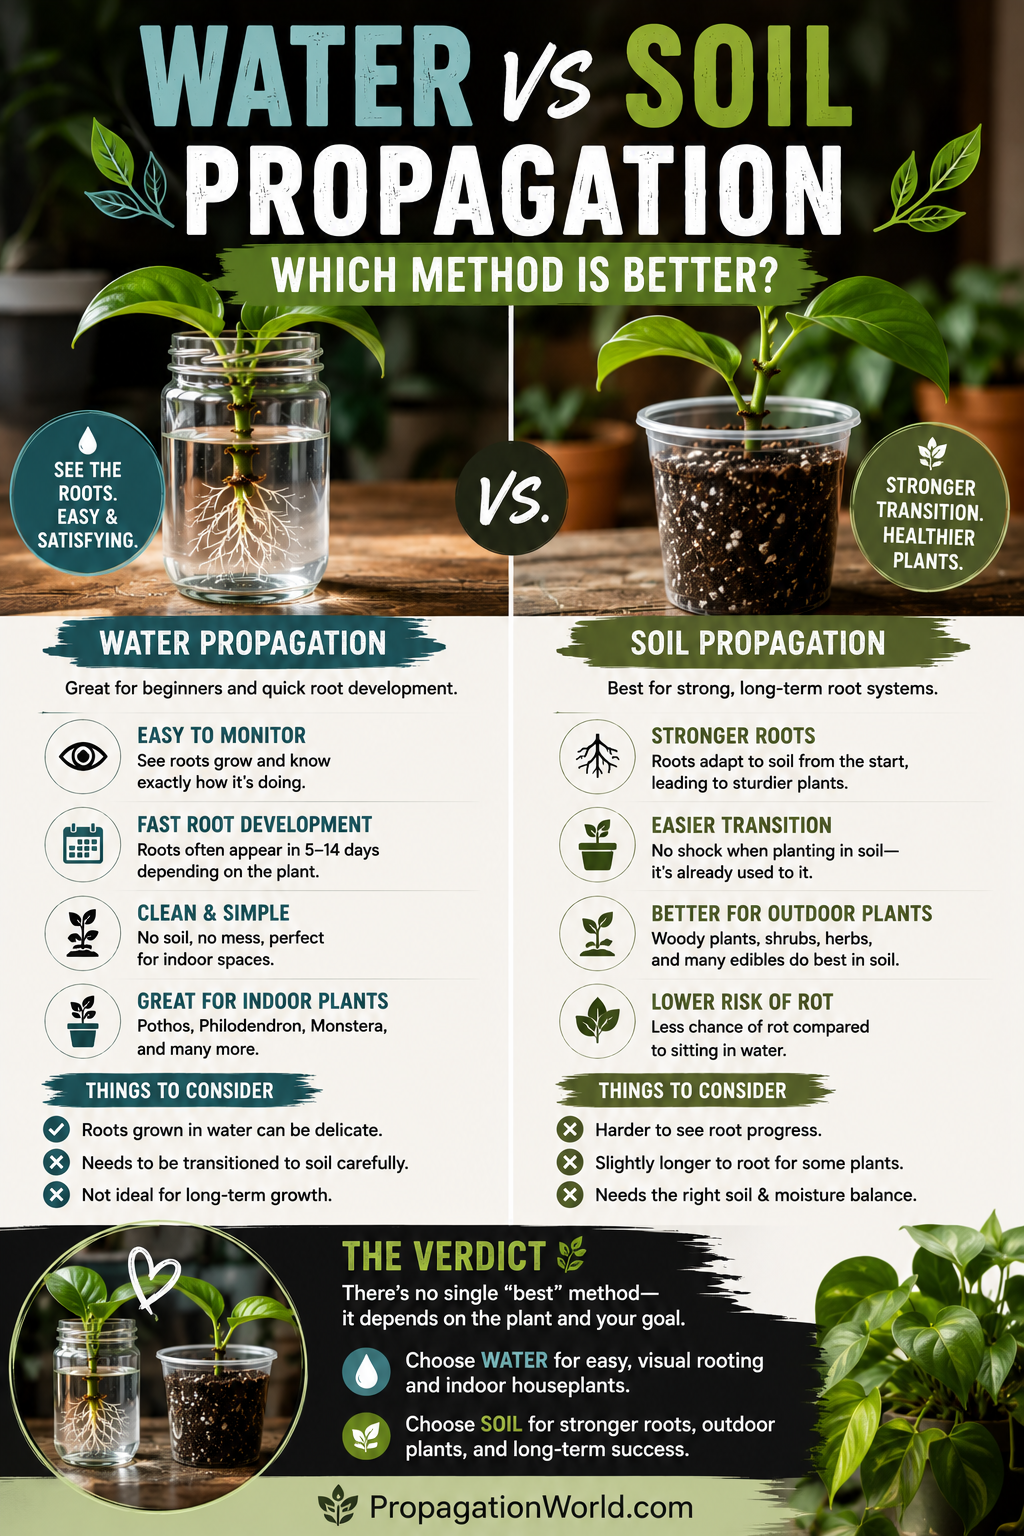
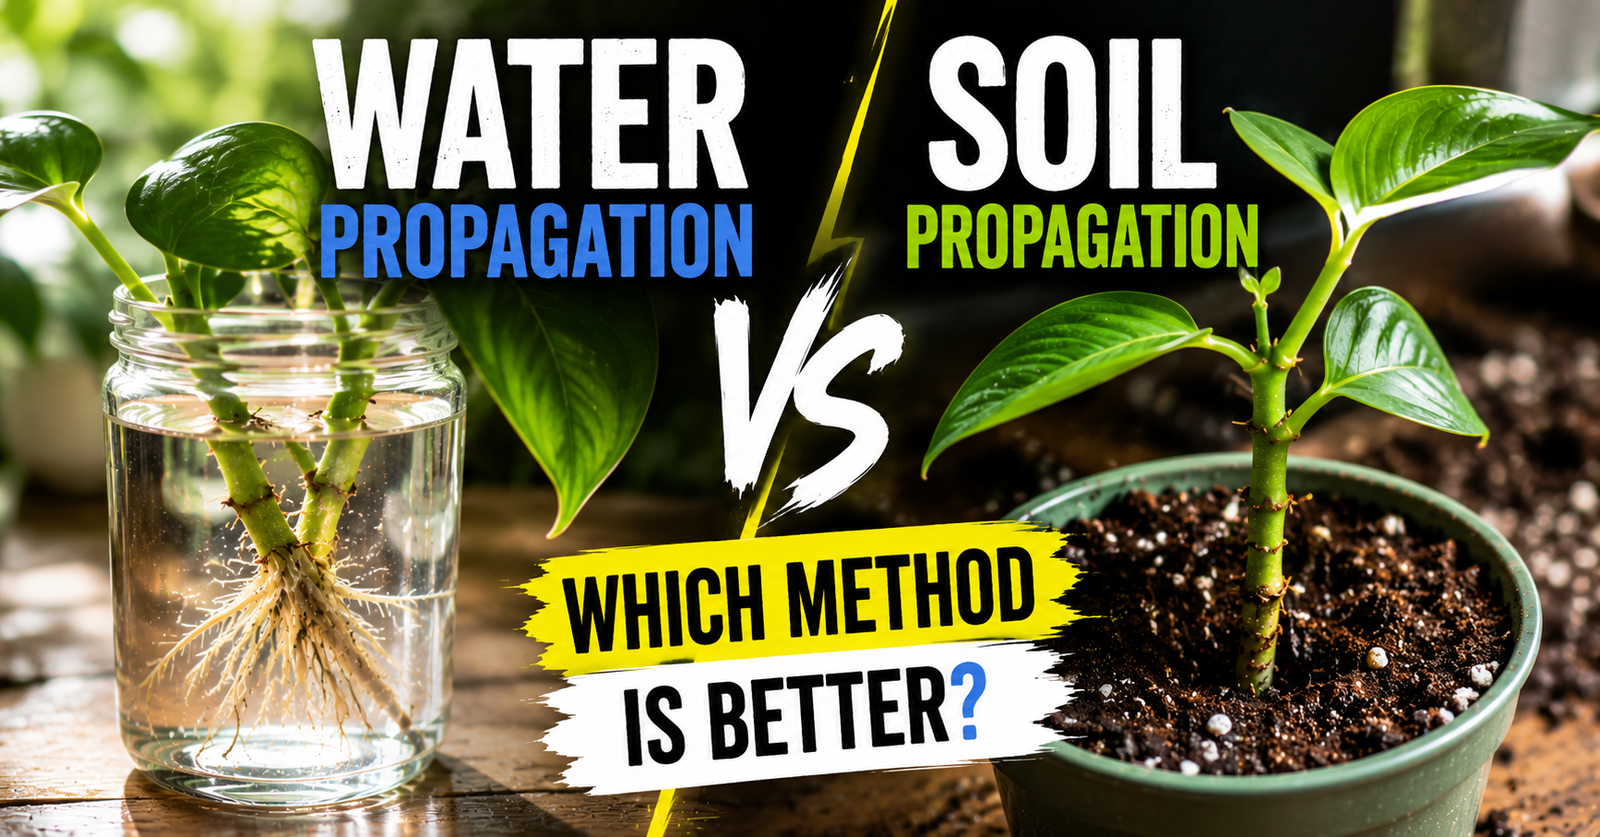
If you’re trying to decide which method makes more sense for your situation, I compared both in Water Propagation vs. Soil Propagation… Which Method Is Better?.
Would I Recommend Straight Perlite?
Without hesitation.
Not because it’s the only way to propagate plants.
Because it’s one of the simplest methods I’ve ever used.
There’s very little guesswork.
The drainage is excellent.
The airflow around developing roots is outstanding.
And it’s incredibly versatile.
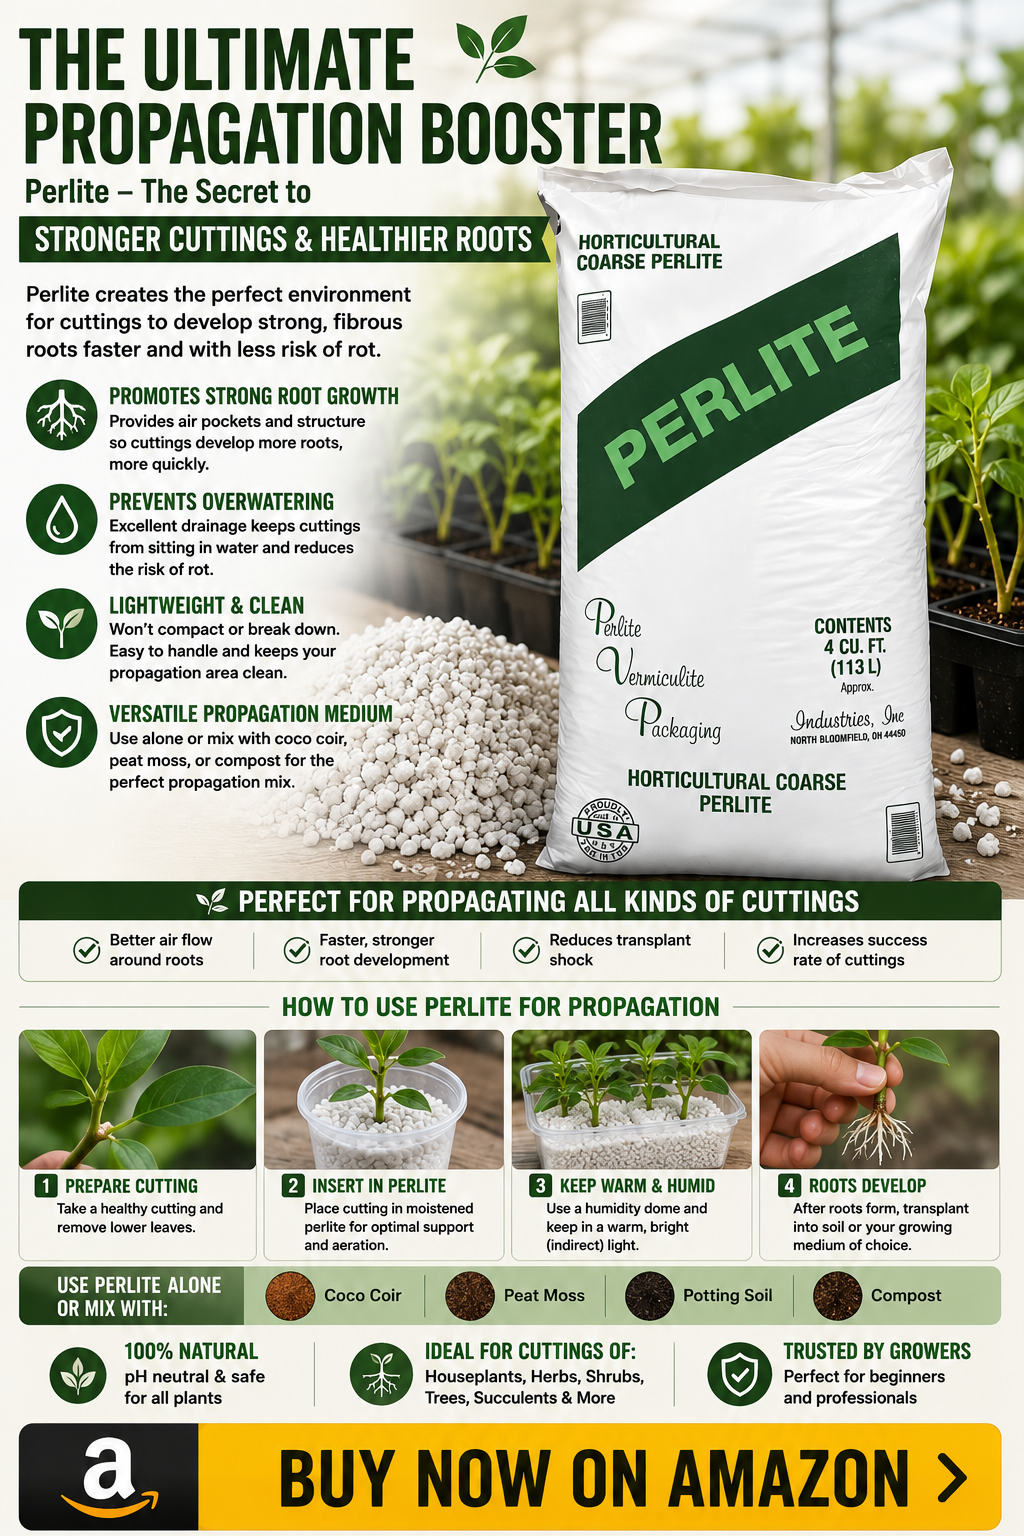
Even if I decide not to root directly in straight perlite, I’m still reaching for the same bag to improve potting mixes, loosen heavy soil, or build propagation blends for other plants. Gardeners wanting to try this approach can compare the horticultural perlite for propagation used for propagation projects.
That’s probably the biggest compliment I can give any gardening product.
It doesn’t solve just one problem.
It becomes useful almost everywhere.
If you’ve never tried rooting cuttings in straight perlite, I think it’s an experiment worth doing.
Start with a few easy plants.
Compare them to cuttings rooted in your usual mix.
You might end up being just as surprised as I was.
About the Author
Daxon Weaver is the founder of PropagationWorld and has spent years propagating thousands of houseplants, fruit trees, berry bushes, herbs, and ornamental shrubs. He enjoys testing different propagation methods, comparing gardening products, and sharing practical advice that helps gardeners root healthier, stronger plants with greater confidence.