

A fig cutting can grow beautiful green leaves, look perfectly healthy, and still have absolutely no roots.
That’s one of the strangest things about propagating fig trees, and it’s also where gardeners can get themselves into trouble.
You see those little green buds opening up, maybe even a new shoot growing an inch or two, and naturally assume everything is going great.
Then the leaves suddenly wilt.
The stem starts turning dark near the bottom.
You pull the cutting out of the pot, and instead of healthy white roots, you find a soft, rotting end.
What happened?
The cutting was using stored energy to push out new growth before it had developed a root system capable of supporting that growth.
I’ve spent a lot of time working with plant propagation, and this is exactly the kind of problem I want gardeners to understand before they start sticking fig branches into pots.
Fig trees are generally quite capable of rooting from hardwood cuttings. The tricky part is keeping those cuttings healthy while the roots develop.
Too much moisture can rot them. Too little can dry them out. Excessive heat can create problems, and disturbing the cutting every few days to check for roots can damage the very growth you’re trying to encourage. These issues are part of the broader set of common propagation problems gardeners encounter when rooting cuttings.
Fortunately, you don’t need an expensive greenhouse or complicated equipment to propagate fig trees successfully.
You need healthy cuttings, a suitable rooting medium, careful moisture control, and a little patience.
Here’s how I’d approach the entire process, including the mistakes worth avoiding.
Why Fig Trees Are Good Candidates for Propagation
One of the things I appreciate about fig trees is that you can grow a new tree from a piece of an existing one.
You don’t need to plant seeds and hope the resulting tree produces the same fruit.
A cutting produces a genetically identical copy of the parent tree, assuming it develops successfully.
That matters if you have a fig variety you really enjoy.
Maybe it’s a Chicago Hardy fig that’s been growing well in your area. Maybe it’s a Brown Turkey, Celeste, or another variety that produces fruit you want more of.
Taking cuttings allows you to preserve that variety.
Figs are commonly grown on their own roots, and dormant hardwood cuttings are one of the standard methods used to propagate them. Dormant hardwood cuttings are one example among several propagation methods used to multiply plants.
Unlike grafting, which joins two plants together, rooting a fig cutting produces a tree growing on its own root system.
There’s something satisfying about that simplicity.
A branch that would otherwise end up in the brush pile can potentially become an entirely new fruit tree.


Start With the Right Kind of Fig Cutting
Before worrying about rooting hormone, humidity domes, or heat mats, I’d pay attention to the branch itself.
Not every piece of wood is equally suitable.
For dormant hardwood propagation, I would look for healthy, vigorous wood that’s firm, mature, and free from obvious damage or disease.
A cutting around 6 to 9 inches long is a practical starting point, although the appropriate length depends on the thickness and condition of the wood.
Pencil-thick cuttings are often convenient to work with.
Very thin, weak growth can dry out more easily, while extremely thick branches aren’t necessarily better simply because they contain more wood.
I also want several healthy nodes along the cutting.
Those nodes are important because they’re associated with buds and can be favorable locations for root development.
Make Sure You Know Which End Is Down
This sounds almost too obvious to mention, but it’s surprisingly easy to lose track when you’re collecting several dormant cuttings at once.
Without leaves, both ends of a short fig branch can look similar.
I like the idea of making the bottom cut straight and the top cut at an angle, or labeling the cuttings immediately, so their orientation is easy to remember.
The bottom is the end that was originally closest to the roots of the parent tree.
That’s the end that belongs in the propagation medium.
Don’t rely on memory if you’re collecting a large batch.
Keep the Cuttings From Drying Out
Freshly collected cuttings shouldn’t be left sitting in direct sunlight or warm, dry air while you prepare everything else.
If you’re not rooting them immediately, they need appropriate temporary storage.
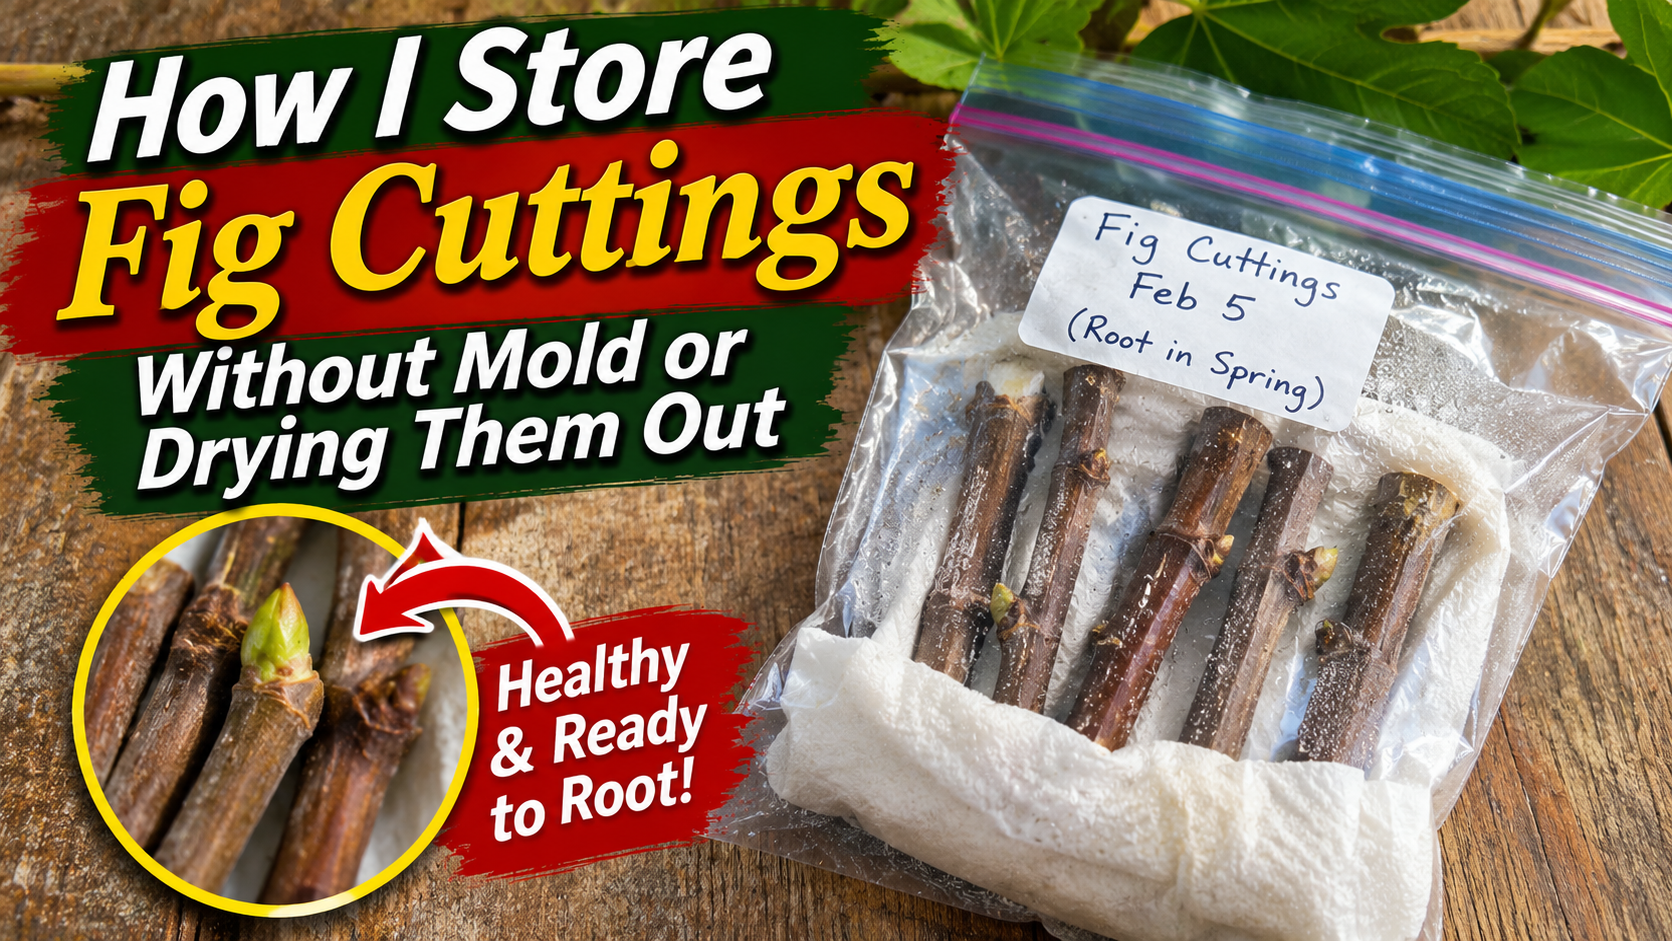
For dormant hardwood cuttings, that generally means keeping them cool and protected from drying out without sealing them in soaking-wet material. The practical details of storing dormant fig cuttings explain how to balance moisture control with protection from mold.
I’ll cover longer-term storage in its own article because there’s quite a bit to understand about storing dormant fig cuttings through winter.
For now, the important thing is to keep the wood healthy between collection and planting.

Clean Cuts Matter More Than Fancy Equipment
A fig cutting starts with a wound, and I don’t want to make that wound any worse than necessary.
That’s why sharp pruning shears are worth having.
A good bypass pruner slices through living wood rather than crushing it against a flat surface.
I also prefer cleaning the blades before collecting propagation material, especially when moving between different plants.
You don’t need to overcomplicate this part.
Remove dirt and sap, disinfect the blades using an appropriate product and contact time, and make a clean cut.
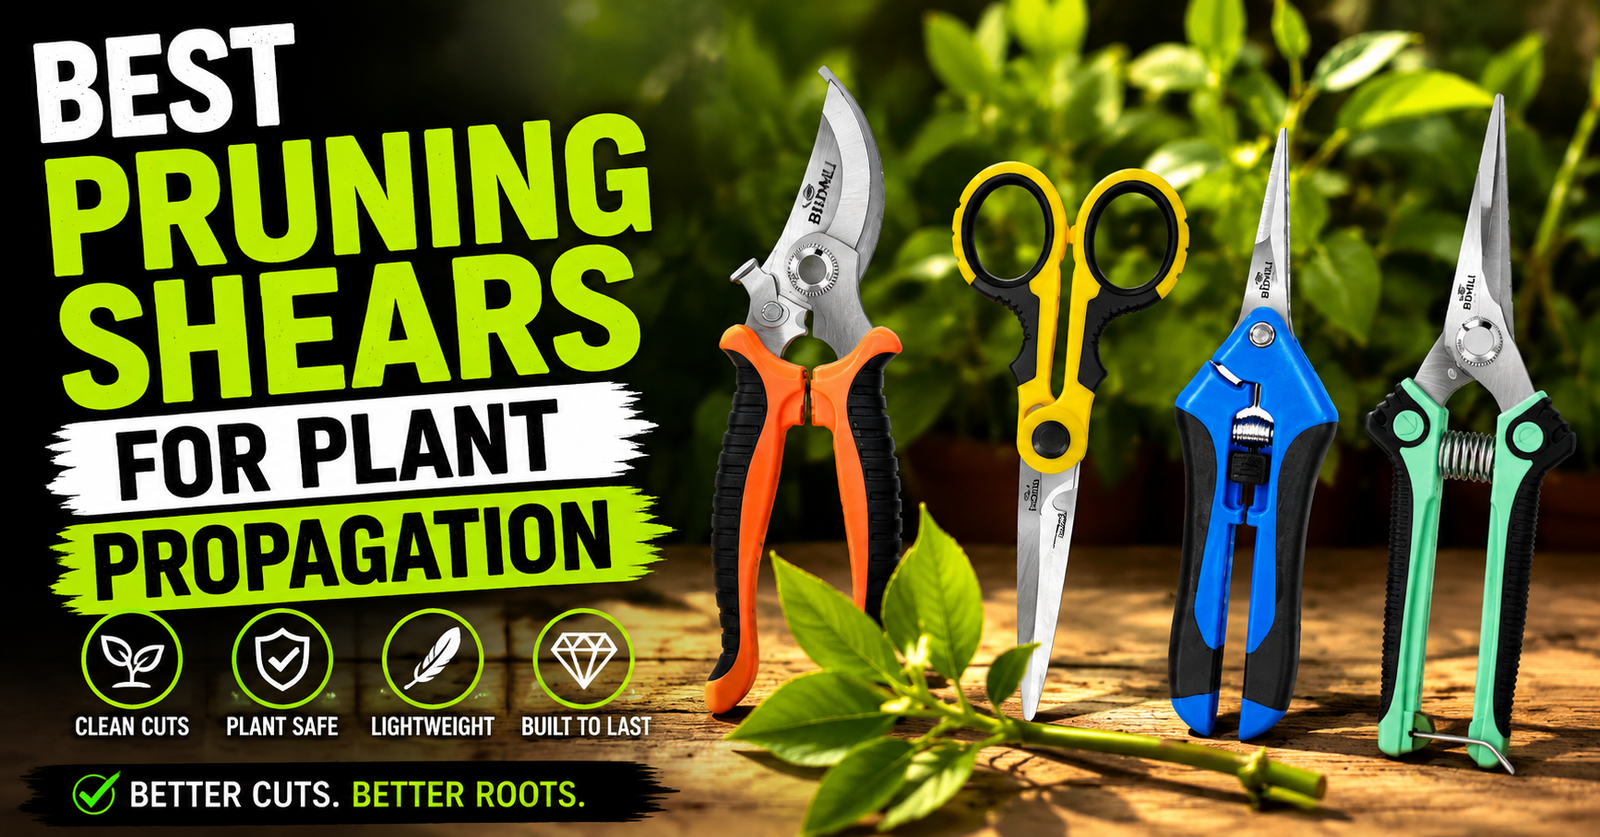
I’ve written more about the pruning shears I recommend for taking plant cuttings if you’re putting together a propagation setup.
For thicker branches, a sharp pruning saw may be more appropriate than forcing small hand pruners through wood they’re not designed to cut.
The goal is to collect healthy propagation material without unnecessarily tearing or crushing it.
The Biggest Fig Cutting Mistake Is Often Too Much Water
Here’s where I would pay especially close attention.
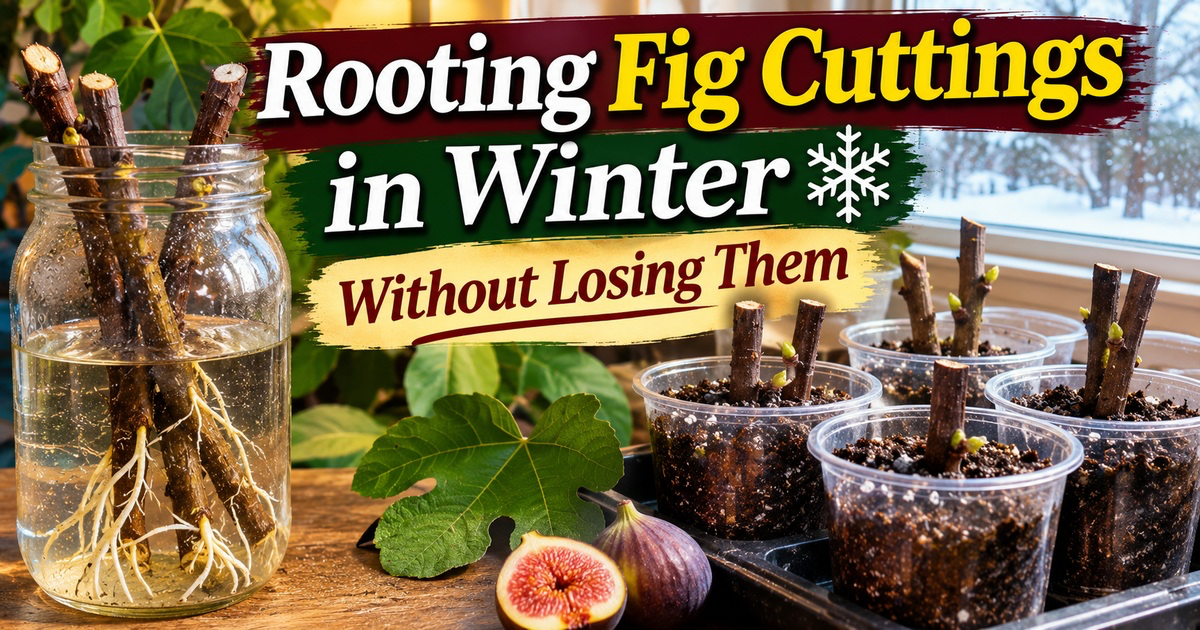
A fig cutting needs moisture to form roots, but it also needs oxygen around the buried portion of the stem. For winter conditions, moisture and oxygen around the buried stem expands on how to balance moisture, aeration, and temperature while rooting fig cuttings.
That balance is incredibly important.
When a propagation medium becomes completely saturated, water occupies the spaces that would otherwise contain air.
The cutting is then sitting in a wet environment with limited oxygen.
Under those conditions, damaged tissue and disease-causing organisms can contribute to rot.
And once the lower portion of the cutting becomes soft and mushy, saving it becomes much harder.
I came across an especially useful discussion from a gardener who had several fig cuttings developing leaves while one cutting was rotting underneath its protective wrapping.
The grower discovered that the upper portion was damaged but some lower nodes still had living tissue. The advice centered on removing damaged material and restarting in a cleaner, less saturated environment.
That illustrates something worth remembering.
A fig cutting can look promising above the soil while developing serious problems below it.
What Proper Moisture Should Feel Like
I would aim for a rooting medium that feels evenly damp but not muddy.
Think about a sponge after you’ve squeezed most of the water out.
It’s still moist.
But water isn’t dripping everywhere.
That’s much closer to the environment I want around a dormant fig cutting than a pot filled with soaking-wet soil.
A useful test is to squeeze a small handful of prepared medium.
If water runs out, it’s probably wetter than necessary.
If it falls apart like completely dry dust, it may need more moisture.
The exact feel will vary depending on whether you’re using perlite, vermiculite, coco coir, or a blended propagation medium.
And that brings us to another important decision: what should you actually root fig cuttings in?